
Well, it's that time of year again. I promised my son some updates to his Rad2Go E-36 scooter and I decided to tear into it and get them done before the warm weather got here to stay (Wisconsin winters tend to drag out a bit into Spring...)
On the To-do list:
1) A new front tire to replace the one skewed out of whack by his grandfather running it into a curb. This caused an odd "twist" in the tread which made it a bit unstable at high speed.
2) An ignition/lock-out switch so that he could ride it to friends houses or to play baseball at the neighborhood field without some knucklehead taking it for a joyride.
3) A voltage meter "fuel gauge" to keep track of SOC so he knew when to head for home and a recharge.
4) L.E.D. headlight for dusk runs to home (he's not allowed to ride after dark due to safety concerns...).
The front tire was a ground-ball - picked one up from my buddies @ www.tncscooters.com. The biggest hassle was pulling the rim apart. I'm still looking for a better aluminum rim that I can add a front brake disk brake to...
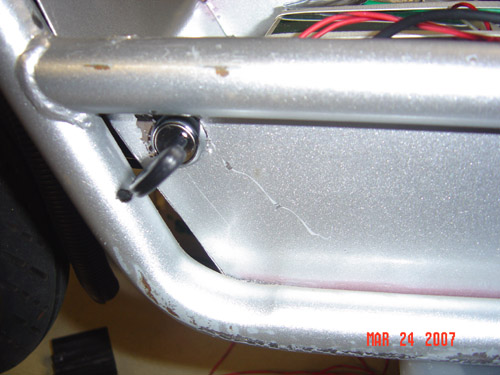
Next was the ignition switch. I got one of those from TNC scooters as well - it came with FIVE keys which is great. My son is 12 yrs old and bound to lose at least a couple of them. I ohmed out the switch contacts and found that it had both NO (Normally-open) and NC (Normally-closed) switch contacts which was perfect. My plan was to wire the NC contacts in parallel across the brake switch input to the controller - this essentially shorts out the brake switch with the ignition switch in the "off" position. That way, even if the main power switch on the scooter is turned on, the controller won't power the motor with the brake switch shorted out by the key switch, completely disabling the scooter from motion unless the operator has the key.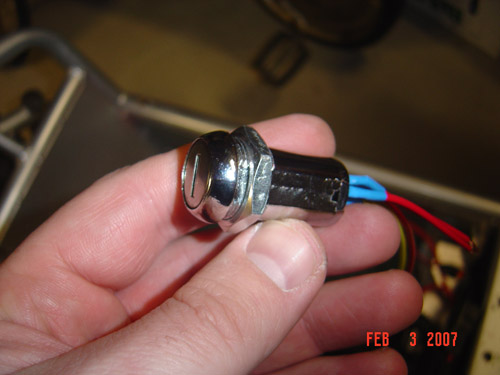
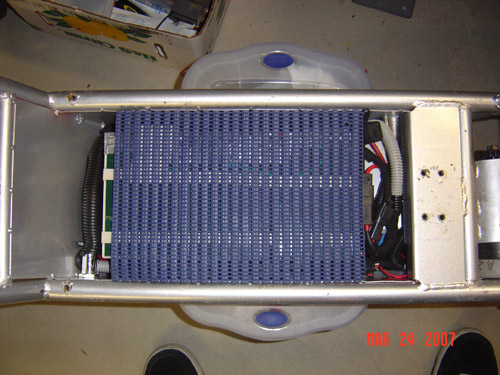
I then wired the NO contacts in series with battery power to the voltage meter (see below) which would power the meter when the key was turned to the "ON" position. That way, the meter is only powered when he is riding the scooter. I popped a hole in the chassis just in front of the batteries on the left side of the frame. This was out of the way and less obtrusive than putting it up on the handlebars, and it made it alot easier to wire into the scooter. I had rewired and repackaged the scooter when I first got it - adding conduit, tape and sealed connectors to the controller, main battery disconnect (hi current connectors) and charging system connections. I HATE sloppy wiring.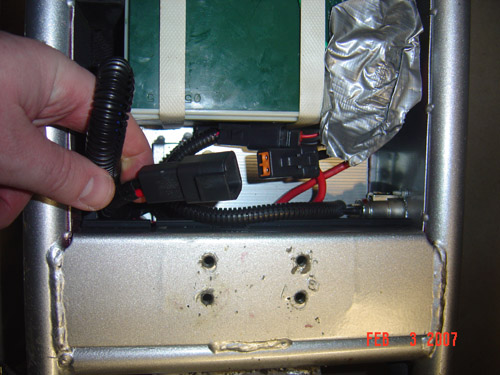
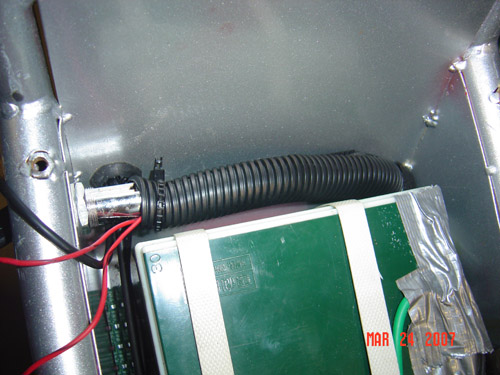
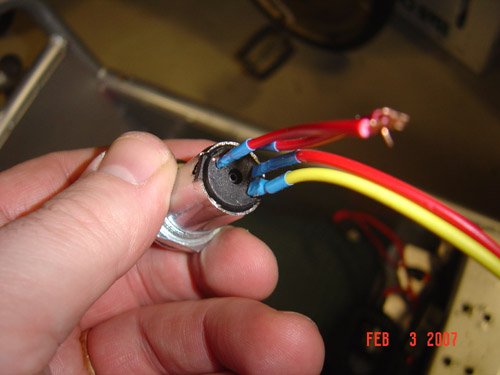
Next came the voltage meter - I got a pretty nice one off of a guy I contacted through eBay - I don't have the link right now but will post it later. It's got a series of 5 green, 2 yellow and 2 red LEDs which indicate SOC and a final Red LED which blinks when it gets to critically low voltage levels (He's got versions for 12/24/36/48 V). I wired this across the battery pack and through the ignition switch. I mounted the gauge in an old bullet turn signal housing from a Harley-Davidson and mounted it on the handlebars. I then covered all wiring in conduit and wire-tied them cleanly to the front handlebars and into the chassis.
Last was a AAA battery-powered LED headlight that I got off of eBay for $10 and mounted to the handlebars.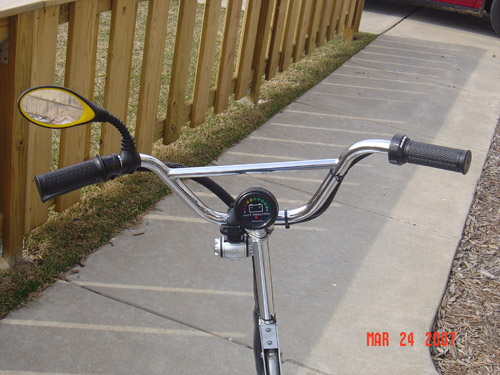

He took it for a run after it was complete and gave it the big thumbs up - it gets more high-tech every time I tear it apart. I'm due to build myself a 48V 1200W monster to go out cruising with him this summer when we go camping.
Nukem

