
Over 10 years ago I bought a Charger bicycle and was happy with it until I messed up the controller. The Charger bike was commercially made in the late 1990's and had been designed by the guys at Aerovironment, some of the team also designed GM's EV1. So this bike has an interesting pedigree.
It's a Pedelec design where a plastic box fits in the central triangle holding the battery pack and controller. The controller has four power settings. There's no throttle, you just pedal. It was pretty nice that way.
I had wanted to access the 24 volt system in order to run some lights and when hooking everything back up, burned out the controller. That led to a little adventure during which I learned how to replace bottom brackets, and the existence of a freewheeling bottom bracket that was used on Schwinn bicycles in the 1960's. Most of that adventure happened a long long while ago.
I also had to replace the controller. I got a chinese controller of suitable power, and a matching throttle, meaning it's no longer a pedelec.
The result though was that neither of the chains were tight - one chain would be tight, and the other loose, and would therefore slip off frequently while riding. "Two chains" means that the design is similar to the mid-drive bicycles. A motor is mounted on the bicycle frame, and it has its own chain powering the rear wheel, with another chain for the pedals. The rear wheel is internally geared so both chains drive into the gearing. This is very helpful for climbing steep hills.
Because I couldn't get both chains to be taught at the same time I rarely rode it. But I had an inspiration recently and have gone through cleaning up everything on the bicycle, and ensuring both chains are taught.
Now it's very rideable, but I need to sell the bicycle.
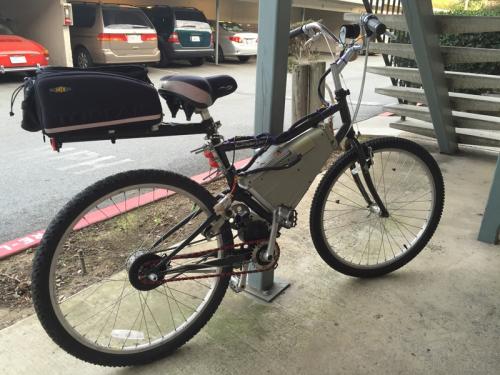
An overview of the bicycle

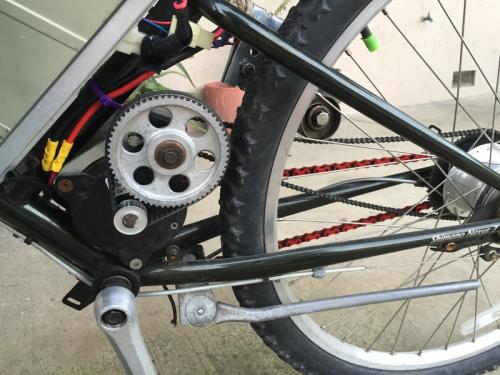
Details of the drive motor. In the upper left is an idler pulley from a riding tractor.
That idler pulley is the secret trick. I rigged a mount on the frame to hold it in place, allowing the pulley arm to be adjusted so the chain is taught. Works like a charm.
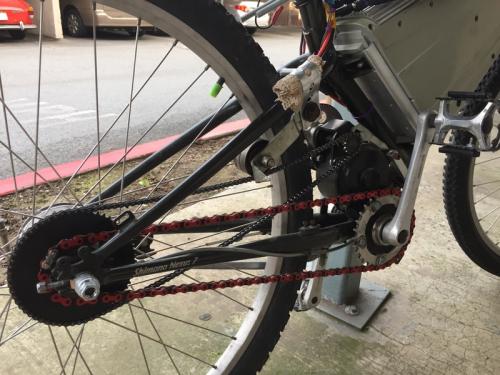
Rear wheel and drive chains.

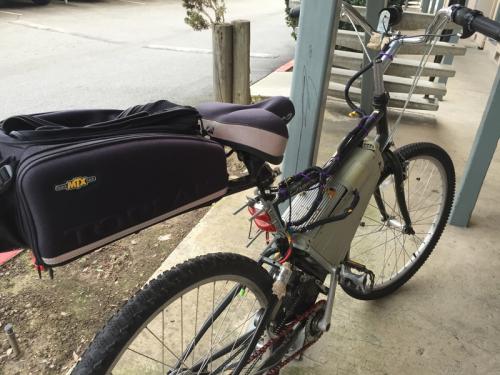
Battery box and some details of the wiring loom.
I wired up a system of LED lights - a headlight and tail light. The tail light is two units meant to be running lights on a car, wired in series, to be correct for the 24 volt system voltage. The headlight is something I found on eBay, from China, and is spec'd to handle any voltage from like 8v to 86v.
The wire coming out of the battery box has dual purposes: a) access for the charger, b) access for the lighting system. For daytime riding when you don't want to run the lights, don't connect them up. It's very simple.
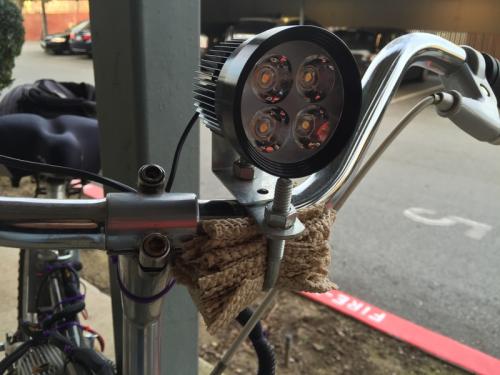
The headlight
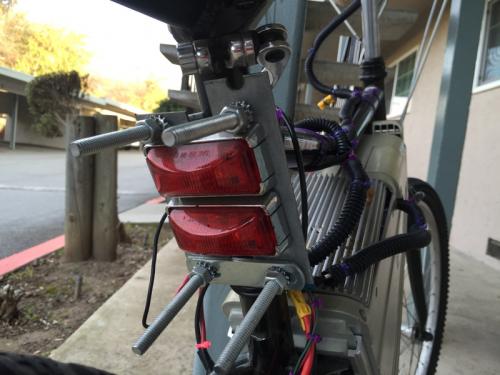
The tail light
The other side of the motor
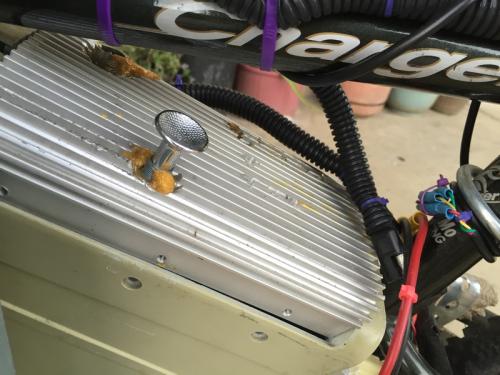
Master on-off switch


How much were you thinking? i just ordered one from sam. but wife might want one. can i e-mail ya?
-Craig