MB-1-E Part Three: A little bit of progress today ...

Hi fellow blog followers,
Today, Sturdly offered to send me some heatsink extrusion. This will be very helpful in keeping my controller nice and cool. Thanks Sturdly ... it's appreciated!!
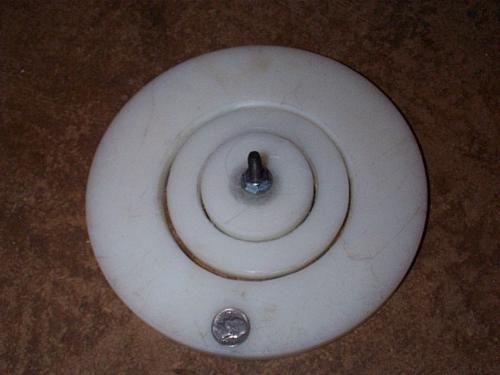
I found some hard plastic discs while scrounging through my stuff the other day. I think they are shuffleboard pucks for use on gym floors etc. They are about 10' diameter and 1/2" thick and tough as nails.
More on this in a moment.
Problem:
As some of you may remember, I'm working on a bike that I don't want to make permenant changes to, so my left-hand sprocket need to be clamped on at the spokes.
I did some research and was not able to find any Currie spoke clamp plates and the Spooky Tooth sprocket setup didn't have enough information to tell if it would be the right size to fit my hubs. My Bridgestone has extra wide flanges at the hubs. About 2-7/8". My 60T driven sprocket has a 3-1/4" bolt circle, so I think it will work but I need the inside split ring plates to clamp it on. The Currie clamp has too small of an inside diameter for my hubs and I don't want to swap out hubs.
Solution:
Make my own split ring.
This is where the hard durable plastic comes in.
I don't know what type of plastic these are made from, but it's not the kind that will break anytime soon, I can tell you that.
Now since I don't have a laythe, I decided to drill a 5/16" hole in the center, place a bolt through that and lock it in place with a nut on the other side.
(Kids, don't try this at home, it can be dangerous if not done with extreme care !!!)
I placed the disk in my drill press and used a saw blade to cut a groove at the outside diameter that I needed. I did the same for the inside diameter and the ring I just made seemed to turn out good enough for what I need it for.
Here is the disc I used.
Here it is near where it will be used as a backing plate. I will cut it in half so I can get it around the hub.
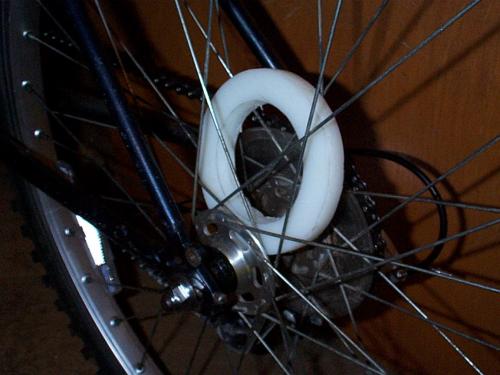
As noted previously, I'll use some inner tube rubber as gaskets on both sides of the spokes and some short spacers or washers at each bolt to avoid squeezing the spokes too tight.
I think this should work ok and is pretty lightweight.
I'll drill the holes to match the holes in the 60T sprocket.
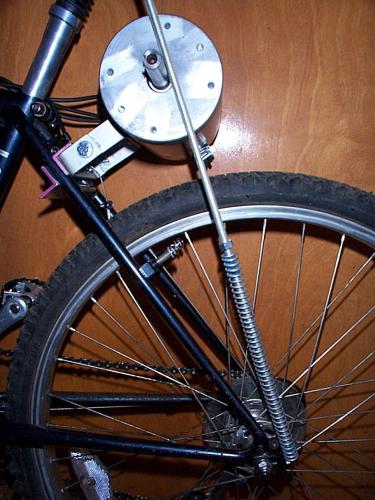
I also worked on a rod to keep tension on the chain drive. I don't have the jackshaft plate yet, so I didn't finish this rod that will parallel the chain to keep it tight and adjust tension there. This is a compression spring from the local hardware store, a piece of 5/16" threaded rod, some nuts, washers and a rod coupling to keep the spring centered on the rod.
I'll cover the threaded rod with a plastic tube so the spring won't rub on the threads and wear the spring out.
I plan to capture the spring inside a metal tube of some sort so the whole thing acts like a very tight shock. I don't want much spring at all, because it will only slack the chain during a big bump, so the spring will be nearly fully compressed and just provide enough compression to take up any slack, should the chain stretch a little.
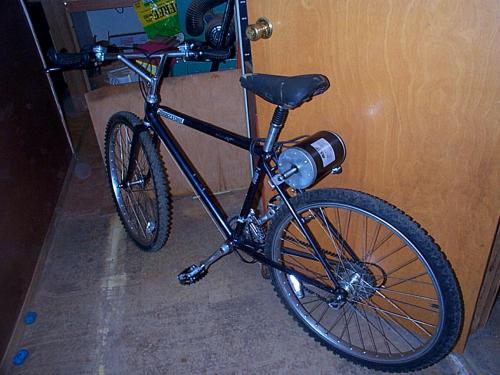
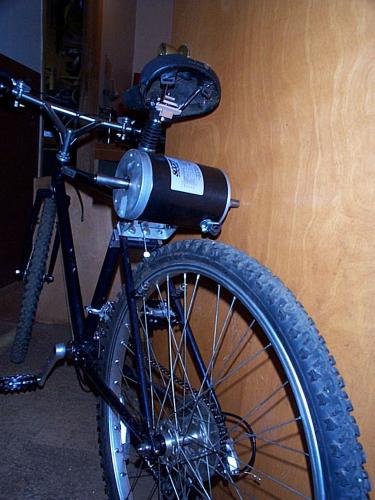
Below are a couple of more pics of the motor placement.
As noted above, I can't really do too much until I get the jackshaft assembly, so things may change somewhat when it gets here. Dang, I can't wait for it to arrive.
- MB-1-E's blog
- Log in or register to post comments

Who's online
There are currently 0 users online.
Who's new
- eric01
- Norberto
- sarim
- Edd
- OlaOst
Support V is for Voltage
