MB-1-E Part Eight: Sprocket & Battery Case

For those of you who have been following this build, here are some pics of some of what I have accomplished lately.
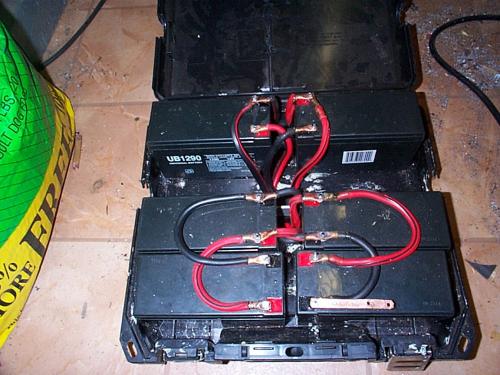
I wanted to have the ability to remove my batteries or use various combinations for different ranges of travel. The case shown has 6-12V 9Ah batteries, I have two more that will fit directly below the case in a flatbar framework that will also support the case.
I used some jumper cables for the battery interconnections and small dia. copper tubing to make the connectors. I drilled a small hole thru the spade connector battery terminals and a small machine screw and nut to secure the homemade connectors to the batteries.
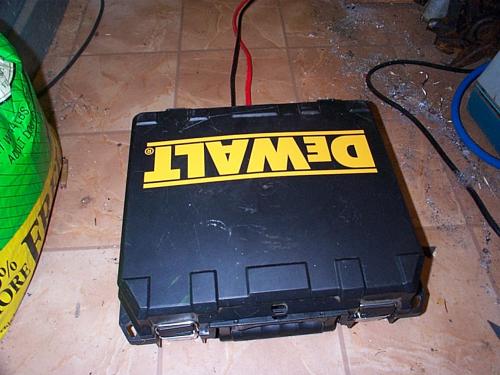
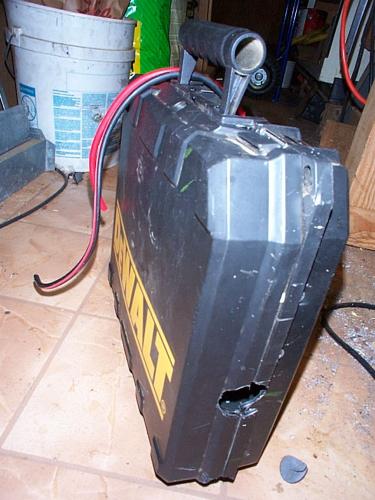
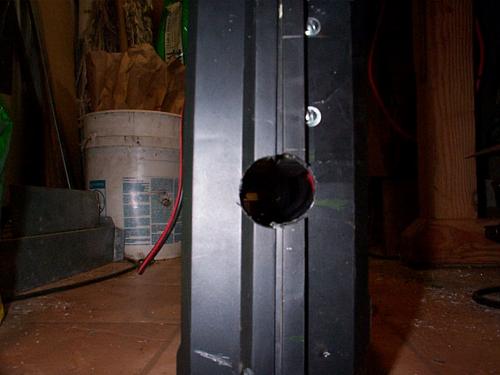
The DeWalt jigsaw case with carrying handle and hole thru to fit over the horizontal frame tube.
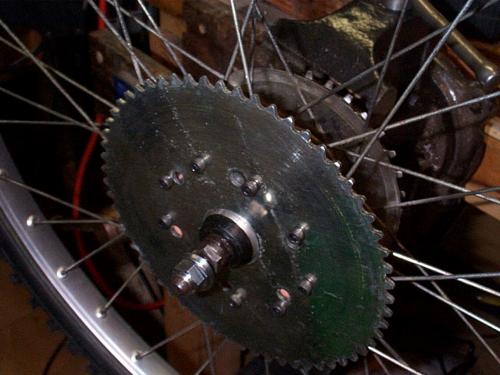
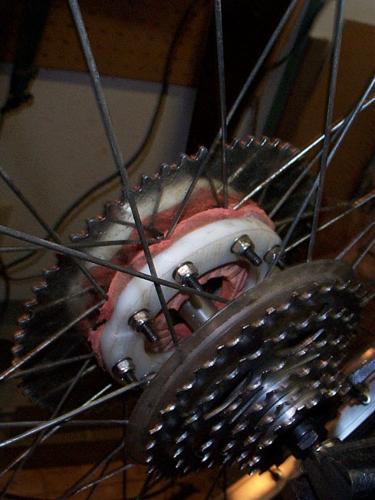
Here is the 60 tooth #35 Chain Sprocket mounted at the rear hub. I made a backing ring from some dense plastic and the red spongy material is made from a knee pad. I wanted something that would form around the spokes and help distribute the torque evenly.
I was worried that it would allow too much movement between the sprocket and the spokes but once compressed, there is very little, if any, movement there. I think it will work out fine.
I use 9 10-24, Low Carbon, Socket Head Cap Screws and washers with Stainless Steel Nylok nuts to sandwich it all together. On the sprocket side of the spokes, I cut two inner tube washers to fit where the sprocket contacts the hub and spokes. The inside diameter of the sprocket was a perfect fit to keep the sprocket concentric with the hub. I tightened the SHCS's carefully and spun the wheel, making adjustments until the sprocket was well alligned.
Getting 9 holes thru the sprocket, the backing ring and rubber spacer to match the spoke junctions was pretty tricky. I did a lot of measuring, head scratching and finally just placed the backing ring behind the spokes and used a pencil to mark the apex of each of the 9 spoke crossings then just eyeballed the tangent of each and drilled the holes on the drill press. It went together as planned and the bolts ended up right where I wanted them, so I think I got lucky.
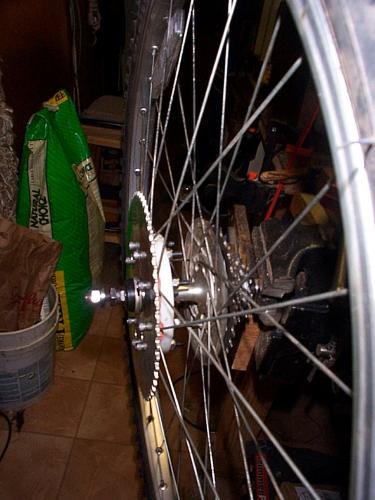
Here are some pics of the sprocket.
I'm still waiting on the controller and jackshaft assembly to arrive. I also ordered some 6ga welding cable for some of the wiring, a DPDT switch for Charge/ Run modes, an ESGE double kickstand and some #35 Chain.
I'm not out of the woods yet, I've got a lot yet to do but seem to be making slow but steady progress.
At this point in time I can only hope it all works nicely together. The help of others has really helped considerably in getting this figured out, thanks to all of those folks.
Oh, I received my two NICE heatsinks from Sturdly, they will look sharp and really help keep the new controller cool - THANKS Sturdly!!!
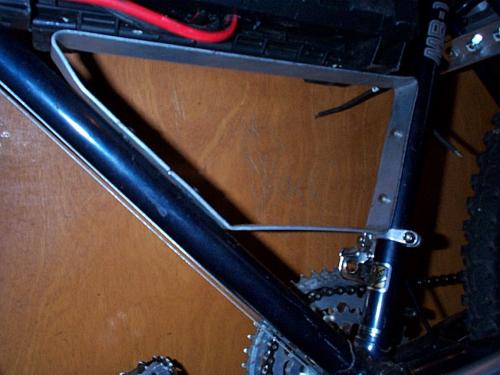
This is the steel flatbar mounting bracket
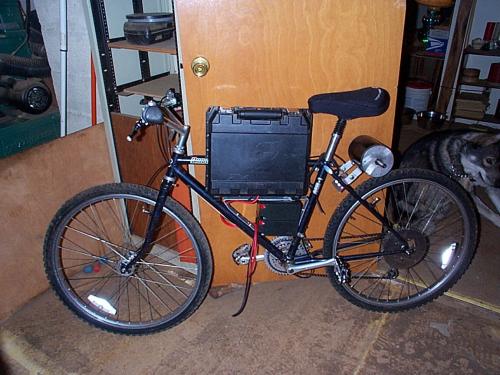
This shows the location of the two lower batteries and the sprocket on the bike (thought I'd better check to make sure the sprocket would clear the frame ... it does, whew!)
Signing off for now, stay tuned for more backwoods inovation and shadetree mechanics.
Dave (aka MB-1-E)
The Bridgestone Project
- MB-1-E's blog
- Log in or register to post comments

Who's online
There are currently 0 users online.
Who's new
- eric01
- Norberto
- sarim
- Edd
- OlaOst
Support V is for Voltage
