how to change wires coming out of XB-600 Motor

Rather that being a step by step "how to", this blog post is more of a resume of how I repaired my XB-600 motor after the wires were cut.
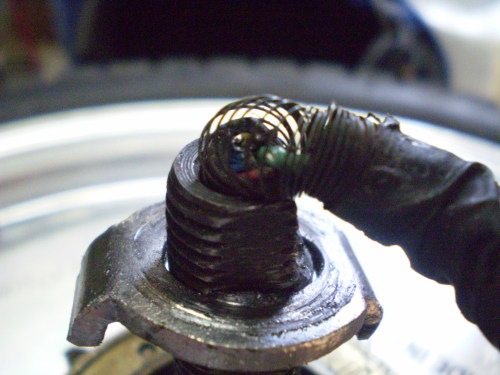
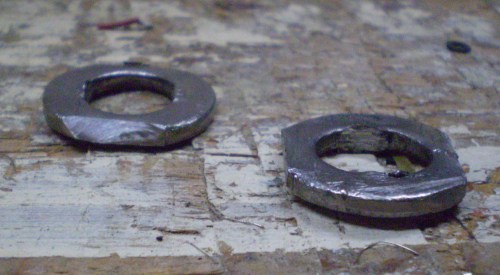
When the axle spun, my tab washers were damaged on the inside....in fact, the tab washer did not moved ....the motor axle as spun in the tab washers too.
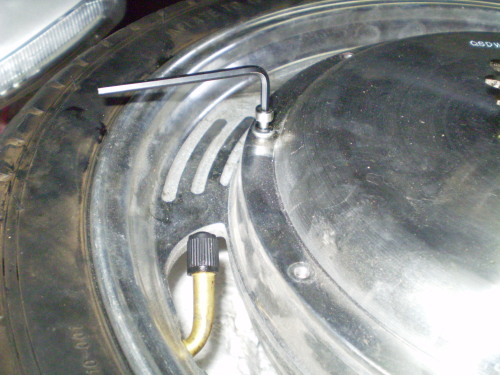
After I removed the motor from the bike I needed to remove the caps on both side of the motor. First I removed the allen screws
After the screw were removed, removing the two caps was not an easy task. I used three flat tips screwdriver that I put in a triangle position so that each screwdriver push up a third of the cap. There was a strong force keeping the cap on the motor(I guess this force comes from all the magnets that are around the motor). Each time I was able to push the cap up with a screwdriver I put something under the cap so that it can't come down because of the magnet force. After the cap is about 1 inch from the motor the force don't act anymore so it come loose and the cap is easy to remove.
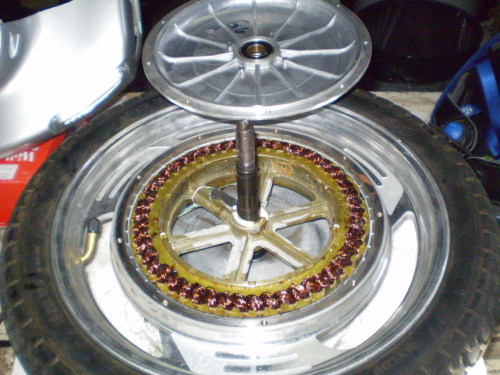
So here is how it looks like inside both side
On the wires side
here you can see the wires coming in and out of the shaft
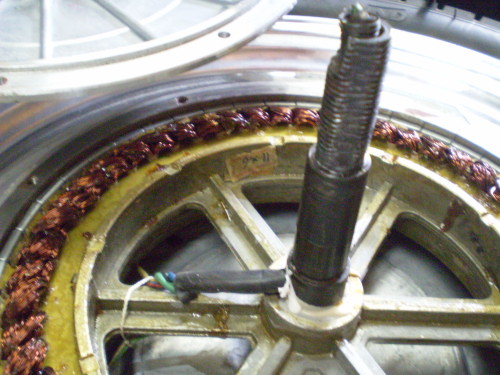
All the connections are on the brake side

The 5 small wires goes to the board and the three big ones are connected to coils. Everything is attached with a small rope that I had to cut a bit to access the three big wires. The three big connection were isolated with strange shrink tube glued in epoxy. Strangely, they were easy to remove.

I used a 20W pen style solder iron to unsolder the 5 small wires, and a 200W gun style solder iron to unsolder the three big wires.
Here are the wires I removed from inside the motor

I used the old wires that were cut off the motor to make the repair, this way I don't have to change the end connector to new wires. Reinserting them in the shaft was easier than I expected. I welded them in place and then reassembled the motor.
I reinstalled the motor and I tried to tight the nut the best I can. There was a problem, when the nuts were tight the motor did not turn ! It was locked by the brake !
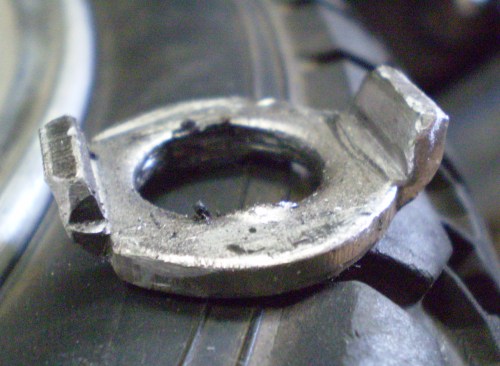
So I build new washers out of the damaged tab washers I had.
I put one between the brake and the motor and that was enough. With this new washer I was able to really tight the nut with all my strength without locking the motor. I followed the instructions found in this forum thread on how to position the tab washers(you have to put them against the motor. I poured some locktite on the second nut on the brake side just to be sure nothing moves.
When I fixed the motor for the first to the bike, the rear brake was a bit loose, unresponsive...this time I was able to fix the cable so that the rear brake is quick. Using the two brakes, I can lock the rear wheel !
I have done about 30km since that repair and everything is going great. My batteries will need to be replace because right now the autonomy is an issue, but I knew that when I bought the used luyuan bike. Changing the wires in the motor was not very hard, it is a long repair because you have to remove the motor and than put it back on but it is doable !
My next post will probably be on batteries, my total budget for the project and future modification.
- Gendronw's blog
- Log in or register to post comments

Who's online
There are currently 0 users online.
Who's new
- eric01
- Norberto
- sarim
- Edd
- OlaOst
Support V is for Voltage
