Cleaning an EVT4000 electric scooter Hub Motor

(These instructions were originally published on 7gen.com on September 14, 2005)
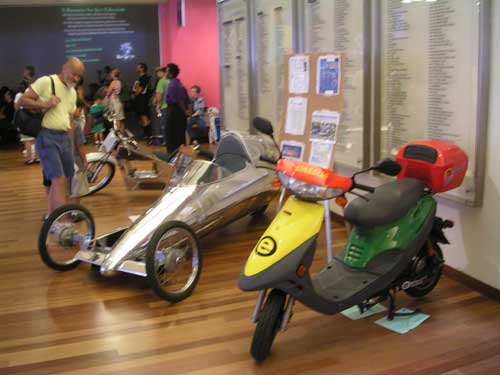
Early models of the EVT 4000e and EVT 168 electric scooters used brushed 1500 watt hub motors. They propel the scooter at up to 30 miles/hr and their scooters are quite fine and reliable machines. Hub motors are built into the rear wheel, making the motor also be the hub of the wheel, hence the name "hub motor". The implementation on the EVT 4000 is very smooth and quiet. The manufacturer is based in Taiwan, at http://www.evt.com.tw/
Here's a picture of one (it's the scooter in the front, not the bright stainless steel things in the back)
However the motor is sealed. Since it is a "brushed" motor, the "brush dust" has no escape from the sealed motor. Hence, the dust builds up and will eventually cause the motor to fail. Why is that? It has to do with what the brushes are, and the function they perform.
There are two general categories of DC electric motors: Brushed and Brushless. Think for a moment how you can get electricity into the spinning part of the motor. Every electric motor involves harnessing magnetic force, using some fixed magnets and an electromagnet made by sending a current through coiled wire. Getting electricity into the coiled wire creates opposing magnetic forces which is then harnessed into rotary motion in the motor. Getting that electricity into the coiled wire is the trick, and the distinction between brushed and brushless motors involves the method for delivering that electricity to the coils.
In a brushed motor, "brushes" are used. The brushes are made from a soft metal held in place by springs to force an electrical contact. The point of contact is the spinning part of the motor, and the soft metal rubs off forming the brush dust. In most motors the brush dust can dissipate from the motor on its own, but in the EVT hub motor it is sealed and the dust is trapped inside the motor.
The EVT hub motor is stamped with a message saying we aren't to open the motor, and not for user maintenance. In the following instructions, ignore that message. Doing this process will allow your motor to last for a long time. If you do not clean the motor, it will eventually self-destruct due to brush dust build-up.
After about 2500 miles of use I grew a worry that the motor would die. So I stopped riding it until I could work out how to remedy the problem. Since I couldn't find an electric motor repair shop, the following is the maintenance procedure I ended up with.

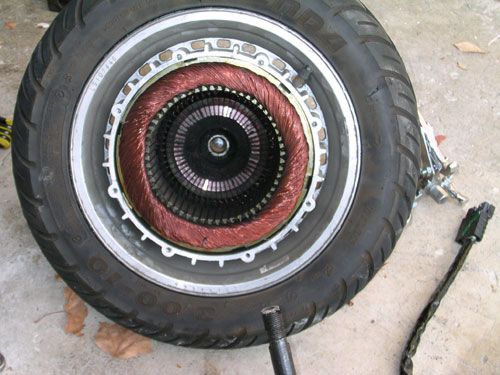
Here's the beginning of the dissassembly. The motor has a "cover" held on by hex-headed bolts. At first after unscrewing the bolts I couldn't get the cover to budge, that's how tightly sealed the motor is. I won't tell you how I got the cover to come off this much, as what I did probably wasn't a good idea. You can see the copper of the coils gleaming inside the motor, and in the upper part is the main power cable leading to the motor. It's interesting how the power cable has to enter through the axle, because there is nowhere else in this motor that is not spinning.
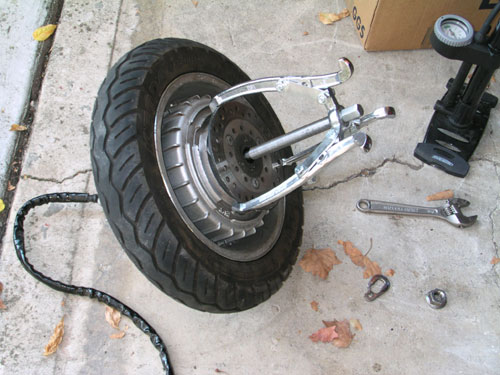
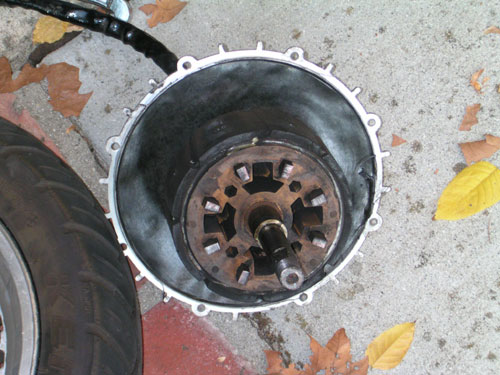
We're looking at the other side of the motor now. On this side we have a disk brake, and when the motor is mounted on the bike a set of brake shoes fits over the brake.
That gizmo attached to the motor is a "gear puller". Normally it's used to detach gears from things, but it has an interesting geometry that's useful for this project. Each of the arms has a "hook" which was hooked around the side of the brake disc. The gear puller shaft is put against the center of the axle. The shaft is also threaded, and the crescent wrench was used to rotate the shaft so that the threading causes the shaft to descend.
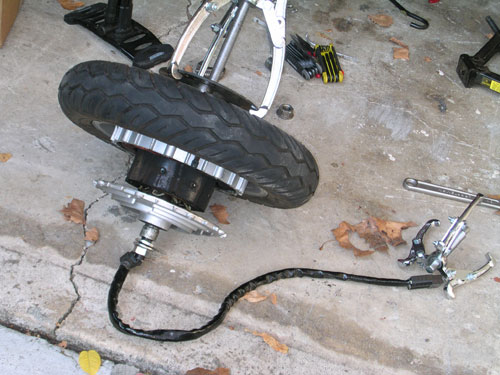
This is the result. The other half of the motor is forced out. The two halves of the motor are strongly held together by magnetic forces, as the main body of the motor is entirely permanent magnets. By using the gear puller to push the axle, the halves of the motor are gently eased apart until ...
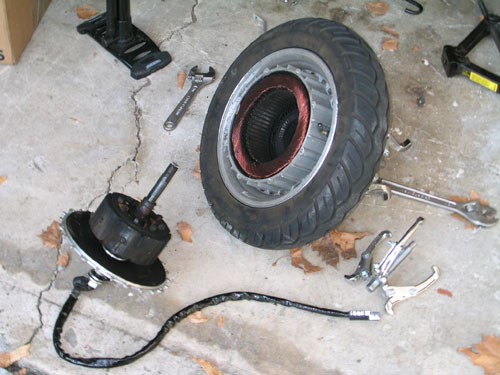
At some point it became trivial to pull the motor halves apart. See that blackness? That's the dust we're going to clean off.
Before ...
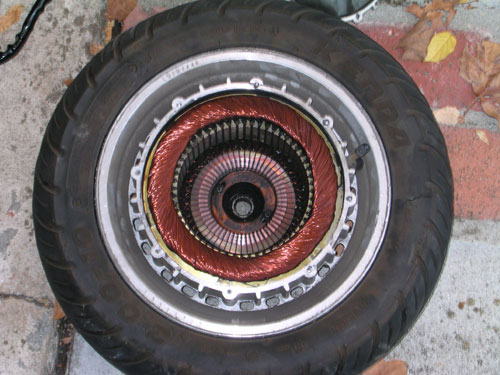
And after. Cleaning the motor was simply a matter of taking paper towels and wiping. The dust came off pretty easily, getting all over my hands too, and eventually my face.
Be careful to not leave bits of paper towel inside the motor.

Before ...
And after. The little nearly rectangular things sticking up are the brushes. They mate with the copper pads you can see in the above pictures.
I don't have any pictures of the reassembly process, because it happened much too quickly for pictures.
What I did was to position the two halves of the motor, one half held in each hand, so that the axle shaft is positioned to go through the hole. I intended to gently ease it back into place. However, at some point the magnetic fields grabbed and WHAM the motor halves flew together. I'm sure glad my finger wasn't caught in there. If I had this to do over, I'd use the gear puller instead to reverse the process and gently ease the motor halves back together. Next time.
All that was left was to replace the bolts, and remount the tire on the bike.

Who's online
There are currently 0 users online.
Who's new
- eric01
- Norberto
- sarim
- Edd
- OlaOst
Support V is for Voltage
