The electrical system

This post will probably be the biggest one. Plugging everything was the biggest challenge. I managed to reconfigure all the Wiring to get everything to work, using the wiring diagram provided by Milleym (http://visforvoltage.org/forum/3712-xb600-wiring-diagram-groovy). Since my old luyuan bike had two 48v battery pack, I wanted to plug them in parallel to be able to get more amps to the motor. Here is how I did that.
First, after removing all the wires on the bike, I was left with a big mess of wires about 6 feet long.
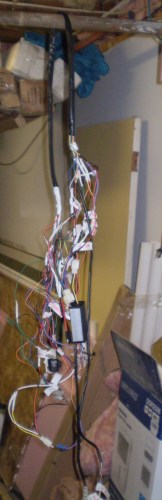
I was able to keep about 60% of those wires. The only things I needed to change were the connectors going to the controller and the one going to the speedometer. I bought a 9 pins connector, that I welded on the new XB-600 controller and on the mess of wire. This way I can unplug the controller more easily.
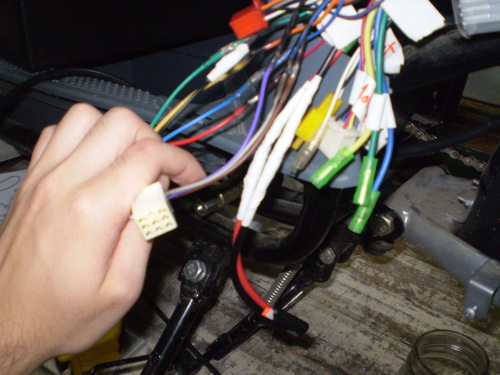
I aslo changed the battery connector.
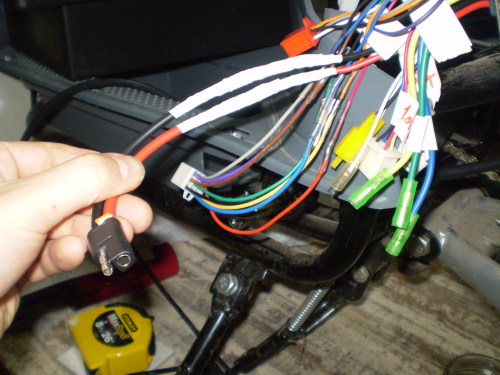
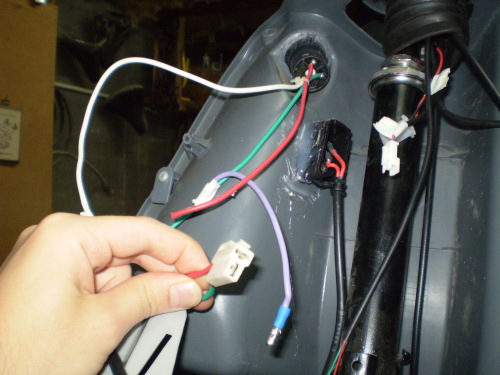
Every connection has been welded and then isolated with shrink tube(and sometime a bit of tape too), just like here on the throttle connector wires.
-----
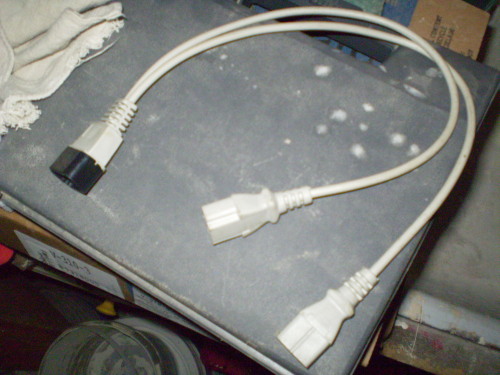
To be able to use the two battery packs in parallel I used an adapter that came with my old charger. This adapter was needed to charge the two batteries outside the bike
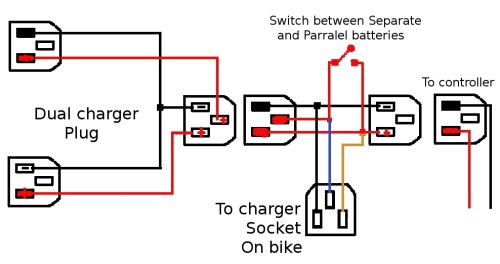
Based on that plug, I thought of something to be able to use a switch to get the two batteries in parallel. Since my charger has two +48v output(one for each battery) I wanted to charge the two battery independently without getting them off the bike. Here is how I made it.
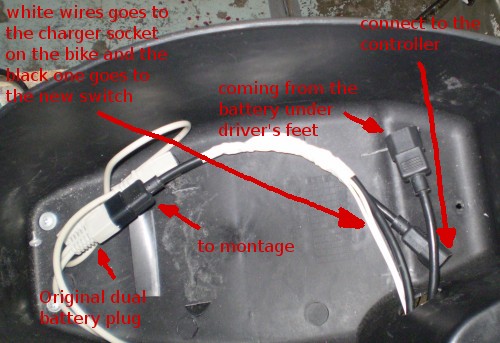
Here is what it looks like under the seat
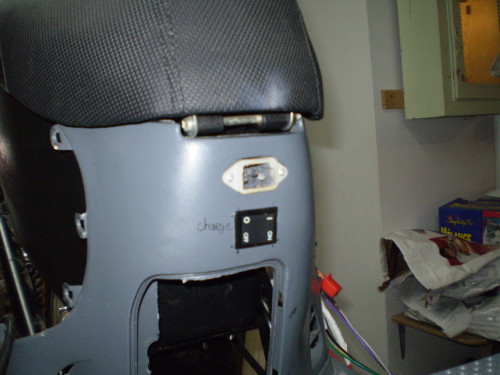
Here is the new switch under the charger socket on the bike. I will need so secure this charger socket cause there is now a lot of power on that connector ! While trying to take a measure with a voltmeter I made a fireball by shorting two pins with the probe (i'm not sure which one!). Fortunately nothing was destroy... this has reminded me to be careful with batteries.
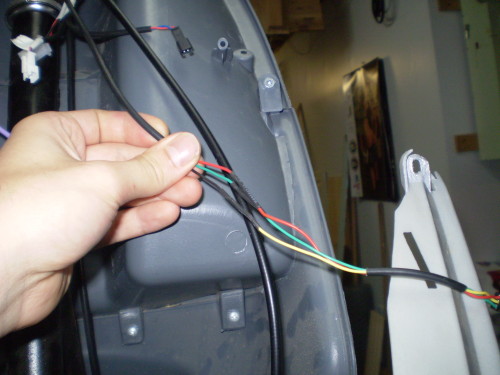
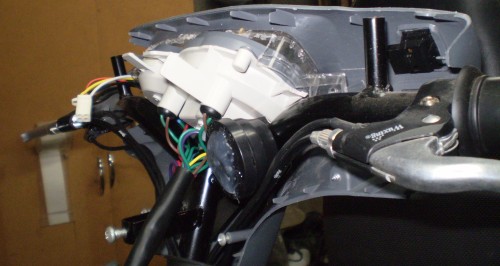
On my old bike, the two battery were independent. The key switch had three position so that you can select either battery A or B. Now, one of the position leads to nothing so that is why you can see on this picture that the red wire is not connected to anything. The purple one as been added to get battery metering on the speedometer. You can also see the back of the old "exigence switch" that I glued there, cause it did not fit under the throttle anymore.
Glue was also used on the Horn and blinker module which I found was too loud.
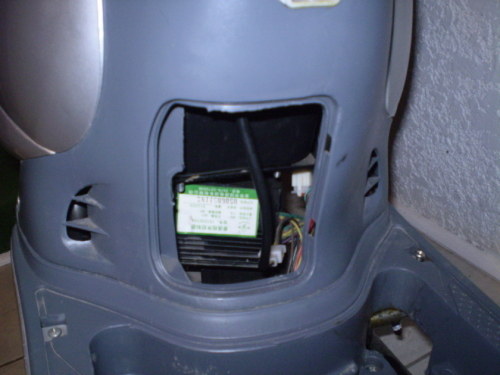
On the older bike the controller was placed behind a little door under the seat. The Xb-600 controller is now too big so I had to find him a new place. I just exchange it's place with the 48-to-12 volt converter.
Before
After

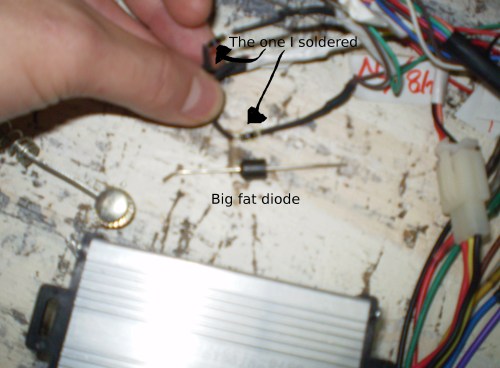
One of my big concern with the wiring were the two Diodes in parallel just before the brake light. They were not present on my old bike, and the plan did not specified the value of those diodes. I went to an electronic store, and bought a big fat one. It was too hard to weld in place, so finally I bought smaller one which are just fine. I think their value are 1amp at 400v. the big one is something like 3 amp at 600v.
That is basically what I did to plug everything. I should be able to ride the bike by now, but I still don't have the nuts to fit the motor on bike frame...but that's another story, probably the subject of my next post :)
- Gendronw's blog
- Log in or register to post comments

Who's online
There are currently 0 users online.
Who's new
- eric01
- Norberto
- sarim
- Edd
- OlaOst
Support V is for Voltage
