The Rezistor: got swingarm

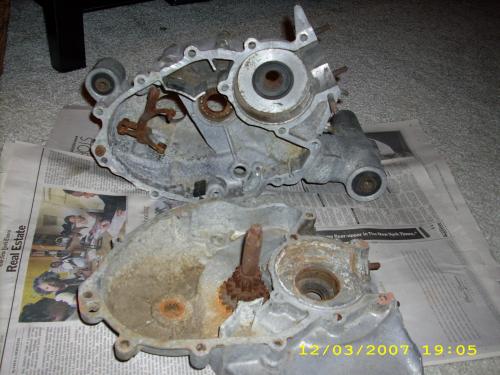
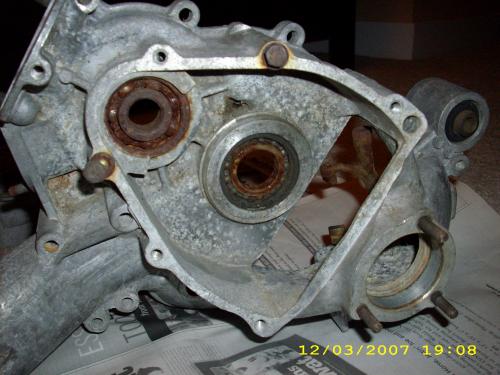
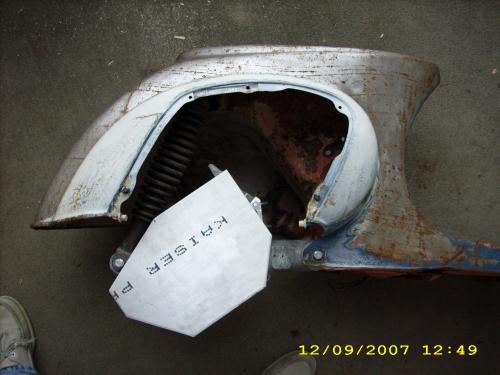
I suppose I'm way overdue for an update, though there really hasn't been much progress until this weekend. The big development was the arrival of a V9A engine case from Sportique scooters in Colorado just before Thanksgiving. They found my WTB ad on scoot.net. It fits in the frame perfectly and the left side of it will serve nicely as the swingarm. I had to knock out the old rusty bearings and drill out a pin to remove the shifter assembly, but otherwise the aluminum case is clean and in good shape.
I almost ran into a snag with the brake plate (where the wheel hub bolts to the engine case). The V9A case has three studs that matches up with three holes in the brake plate. The brake and hub that came with the frame were actually from a PK series Vespa, and the holes in the brake plate were spaced slightly too far apart. Doh! Crossing my fingers, I paid a visit to Patrick at P-Town Scooters, one of our finest local shops, and he fixed me up with a brake plate and a 10" hub that fits the V9A case. Patrick also advised me to lubricate the crap out of the mainshaft bearings and chain, to the point where the lower portion of the engine case is basically a pool of oil. That sounds really messy, so I haven't completely accepted that proposition.
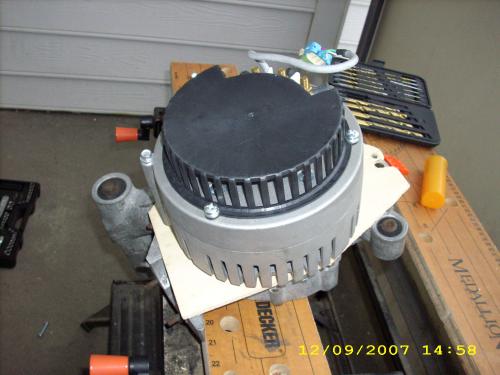
I purchased a new bearing for the mainshaft from McGuire Bearing, and also asked a fellow on their staff whether a fixed gear, belt, or chain would be the best option. He recommended a #35 chain over a belt, considering my speed and torque demands. They have an 11-tooth sprocket in stock that will fit right on the end of the Mars motor shaft. The driven sprocket will be a little more work; since the Vespa mainshaft narrows in the middle, where I'll be making the sprocket attachment, they'll need to modify a sprocket so that it can be split apart, then bolted back together to clamp onto the mainshaft. Pretty slick, but not cheap - he expected parts and labor to run about $60.
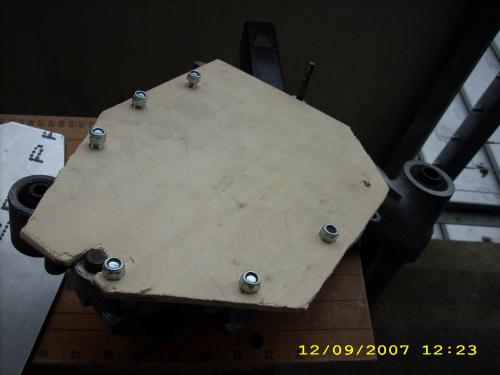
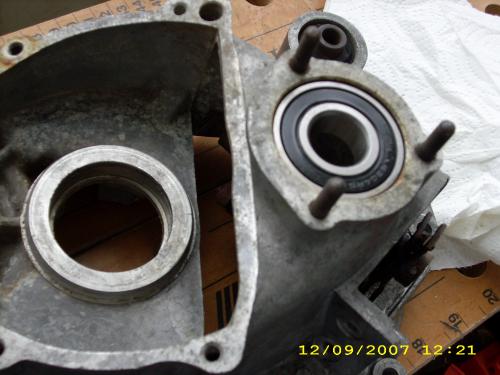
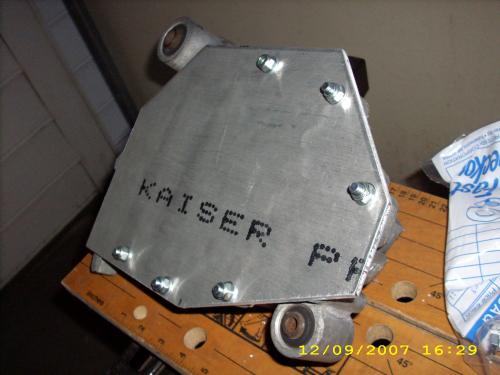
I took some plywood I had lying around and made a template for the plate that will serve as the motor mount. The nice folks at Parkrose Hardware cut a piece of 1/4" aluminum plate to the same shape, and I drilled some holes so I can bolt it to the swingarm and cut a big hole in it for the motor shaft. I stuck the swingarm into my oven at 200 degrees to let it heat up and expand, then gently tapped the new bearing in. The next steps will be tricky: getting the motor mount holes lined up properly, and slotting some of them just right so I have some adjustability in the chain tension. Then I have to line up the bearing for the other end of the mainshaft and figure out a way to secure it to the motor mount plate. Maybe a short chunk of aluminum pipe with I.D. to match the O.D. of my bearing? I have the plywood template to help me figure this out before I make too many mistakes with the aluminum plate.

One other thing I learned: axle steel is really hard. I need to cut off the fat end of the axle, but my hacksaw barely scratched it. I may take it to a machine shop around the corner from my office and see if they can make the cut.
- jstept's blog
- Log in or register to post comments

Who's online
There are currently 0 users online.
Who's new
- eric01
- Norberto
- sarim
- Edd
- OlaOst
Support V is for Voltage
