The Rezistor - Final Assembly and Testing

Well, it's been an exciting week. I spent much of last Saturday getting the brakes working, installing the levers, cables, and switches. The brakelight switches install in-line in the brake cables within the headset, so I had to figure out where to cut the cable housings to get them in the right spot.
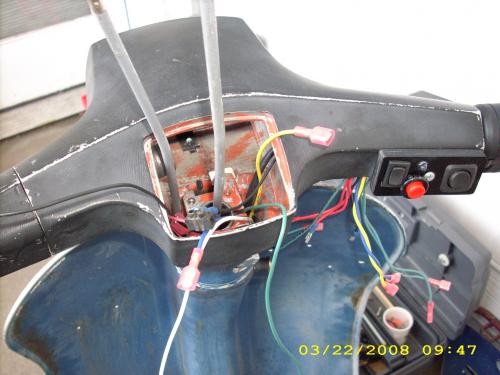
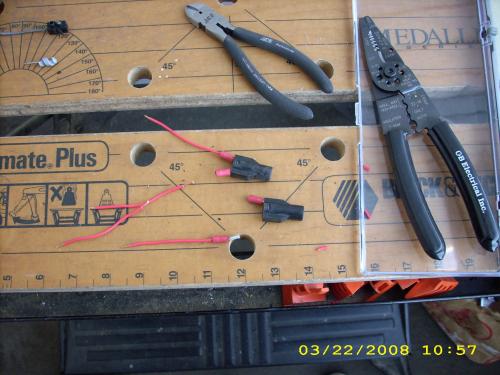
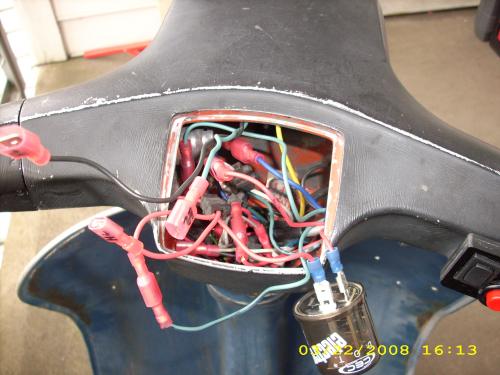
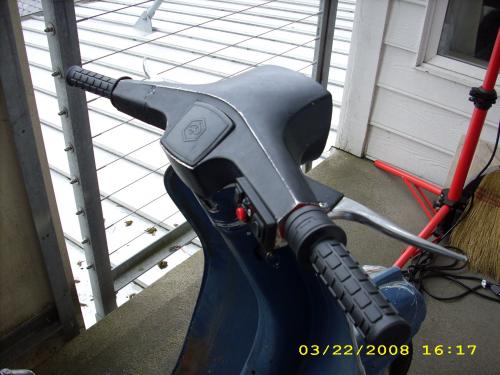
Then I finished wiring the headset, making the connections to the switches, horn, headlight, brakelight, turn signal flasher, and reverse light. I also finished the controller wiring and put new leads on the keyswitch, the wires of which kept breaking off. I installed the horncast and the taillight and completed the wiring connections for those.
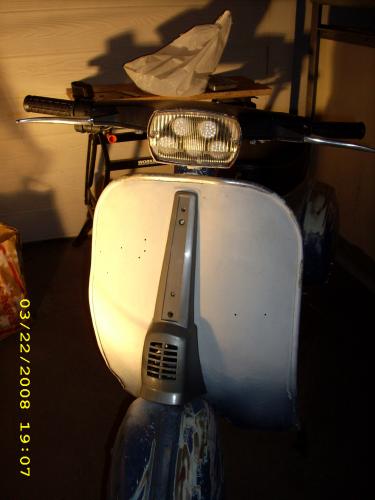
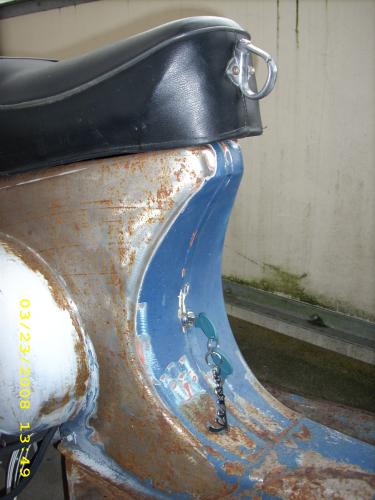
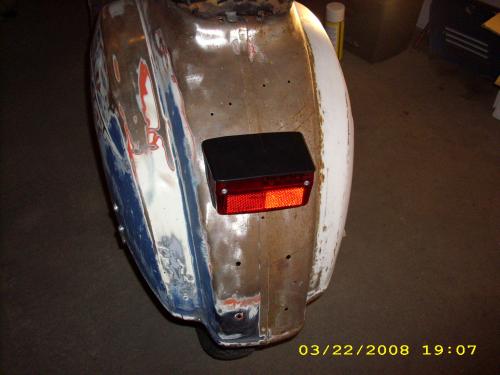
Last Sunday I started off by putting in one of the battery packs under the cowl. The BMS is just an exposed circuit board, so I wrapped it with a plastic bag and some tape to give it some nominal protection and weatherproofing. It's wedged in a small space on top of the battery so it's pretty well protected anyway. Getting the battery in was a tight fit.
I ziptied the two battery chargers into the underside of the seat. I plugged each one into an orange extension cord and then stuffed all the cords in there as well.
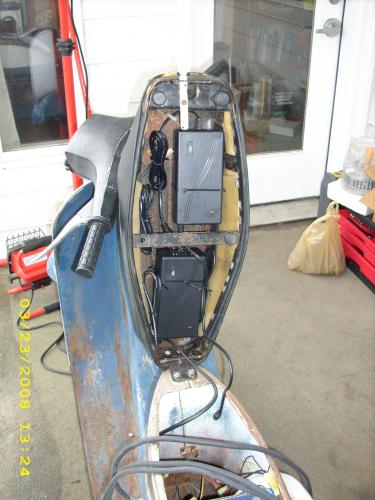
I bolted in the controller and by Sunday afternoon I was ready for a power check, using only one of the battery packs. I put the motor next to the scooter, connected the power cables, turned it on. I hear a click as the contactor engages, and my LED headlamp lights up, so that's a good sign. But I get the flashing LED on the controller indicating some error...oh, look, the control wires aren't connected to the motor. Plug it in and it works!
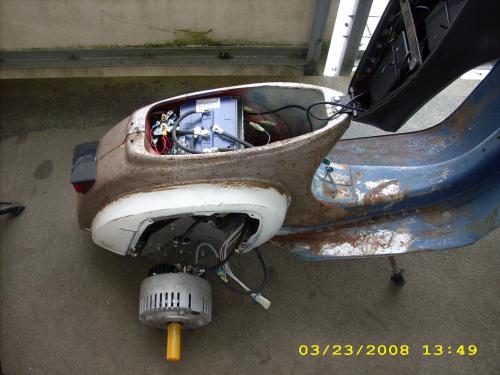
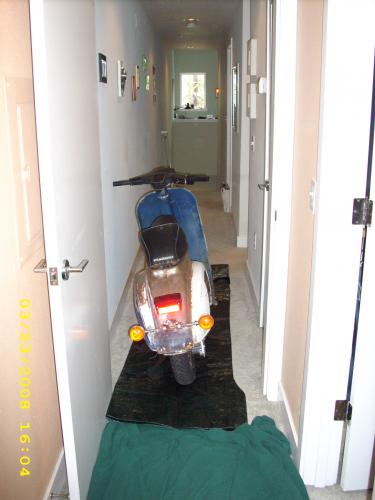
So then I had to move the thing off the back deck of my condo and into the garage for final assembly and a test run. Pushing it down the hallway and down a flight of stairs was a chore.
On Sunday evening I put in the second battery pack, hooked up the motor, plugged in the battery leads, and was ready to test. I turned the key, engaged the forward switch, and slowly twisted the throttle. I could hear the motor and chain moving, but there was no forward motion. I looked down and could see the chain spinning around the sprocket, but the welds between the sprocket and main axle had broken.
So on Monday night I unbolted the swingarm assembly from the body, removed the rear wheel and brake plate, and took the swingarm and motor over to my friend Arden, who was able to fix it with his TIG welder on Tuesday. Tuesday night I picked it up and reinstalled it into the scooter. Thanks again, Arden!
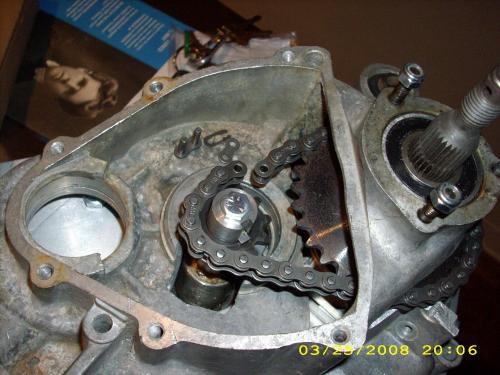
Late Tuesday evening I tried another test run. This time as I turned the throttle I felt a slight tug backward and heard a "tink", then heard the motor spin some more while feeling no motion. This time, when I looked down, the chain wasn't moving with the motor, so something else had failed. I felt around the engine case for a bit and pulled this out.
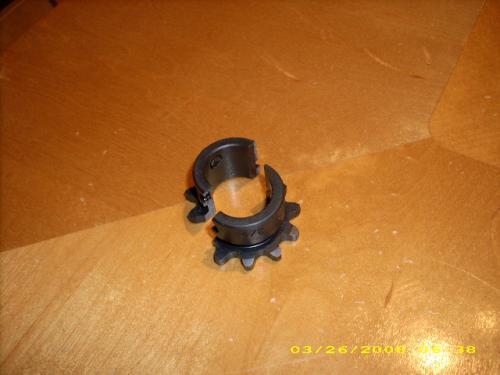
The 11-tooth front sprocket had broken in half. The notch cut for the keyway had really weakened the sprocket hub, and it broke right along the keyway and one of the set screw holes. Also, it turns out I had wired my forward/reverse switch backward, although I swear that I had checked the switch polarity beforehand...oh well, at least it's an easy fix.
I went to McGuire Bearing on Thursday to see if they had a sprocket with a thicker hub, but all of their 11-tooth ones were basically identical, and they didn't have one in stock with 12 or 13 teeth. I called around and found a place that had both, and picked them up on Thursday. Both of them have much thicker hubs than the 11-tooth.
Friday night I put on the 12-tooth sprocket, only to find that my chain was no longer quite long enough. I made a chain that was two more links longer (you have to have an even number of links, of course), but then it was too long, and the chain rubbed on the engine case. I switched to the 13-tooth to see if that would take up the slack, but it still wasn't enough. This is frustrating. At least I got an opportunity to reverse the leads on the forward/reverse switch.
This morning (Saturday) I took the swingarm off and took it apart. I was able to elongate the motor mount holes slightly, but just enough to shorten the distance between the motor axle and shaft so I could fit on my original length of chain. This was a relief, since I had feared I might have to make extensive modifications to the swingarm. I reassembled everything and decided it was time for another test.
This time it worked. Sort of. I got forward motion, but if I accelerated too much the power cut out, including the headlight. If I reset the system by turning the key off and on again, I could again get forward motion, but it didn't last. I could get up to maybe 20 mph if I go really, really slow on the throttle, but then the power cuts out. Interestingly, reverse seemed to work a little better (and felt really weird) but again, the power cut out as I gained speed. I looked at the controller after the power losses, and saw the LED indicator blink 9 times. Sevcon's manual says this is a "rotor position sensor fault".
I suspect that Yesa's battery BMS is set to limit the current draw, and that this is causing the shutdown. Decibel1, another member of this forum, described a similar issue with his Yesa battery packs a few months ago, and I had kind of been expecting that this would also be the case with my battery packs. So I took the batteries out and disconnected and resoldered the leads on the the BMS so that it would be bypassed on discharge. Decibel1 seemed to get decent results with this approach.
I tried a few more test runs, but the behavior was about the same. I still get power loss after initial acceleration. Then after a few more resets, it stopped working altogether. I turn the keyswitch and no power gets to the headlamp, and the LED on the controller blinks 3 times. The manual says this means "MOSFET short circuit".
I poked around the wiring with my multimeter for a while, checking various connections and looking for a short, then noticed that I was getting a 40V potential between the positive battery lead and the scooter body. This seems wrong (and somehow unsafe), so I figure out that the exposed charger connector on the battery under the cowl is coming into contact with the body. I insulate that with some electrical tape, and the potential goes away. But I'm still getting the 3-blink message when I turn the key, and no power. I'm hoping I don't have to send the controller back to Team Delta for diagnostic and reprogramming.
- jstept's blog
- Log in or register to post comments
Who's online
There are currently 0 users online.
Who's new
- eric01
- Norberto
- sarim
- Edd
- OlaOst


Comments
Re: The Rezistor - Final Assembly and Testing
Great report, thanks!
I imagine most conversions are a bit like that...
One question:
Why do you have to have even numbers of chain links?
Puzzled,
Mr. Mik
This information may be used entirely at your own risk.
There is always a way if there is no other way!
Re: The Rezistor - Final Assembly and Testing
Well, here I define a "link" as one of the elements between two of the roller pins. If you look at any roller chain (like a bicycle chain) the wide links alternate with the narrow links, so if you were to have an odd number of links, you would somehow have to join either two wide links or two narrow links to complete the loop.
For a regular bicycle, adding two links isn't that much of a relative increase. But in my case I have a really short chain, and not a lot of space to work with, so adding two links really puts in a lot of slack.
2020 Hyundai Kona Electric
Apollo City