December

I'm quite fond of all of the commercially available electric motocross options, but not enamored with the fact that most of them start at price levels of $7,000 and above. They're mostly aimed at obtaining a near 250cc level of performance, but for my daily use I won't be needing more than 50cc. I don't need to go above 35mph and I don't intend to launch myself over 15-foot jumps.
So for the past week I've been poking around at various options and determined that I can obtain the following for under $1,000.
Target Specifications
Top Speed: 35mph
Range: 20-30 miles
Weight: 180-220 lb
Motor: 60v 1kw 1.8hp 3700rpm
Battery pack: 60v 20ah
Build Cost: <$1,000
Rough Design Concept
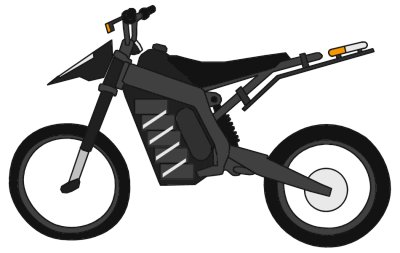
I intend to make it road-worthy, even though it will be operating within a DMV loophole that prevents it from needing a license plate or insurance. So it will include lights, turn signals, and horn, albeit custom-made ones.
January
It's finally above freezing for the first time in a month. A toasty 54F. It's so "warm" I was able to work the ice out of the garden hose.
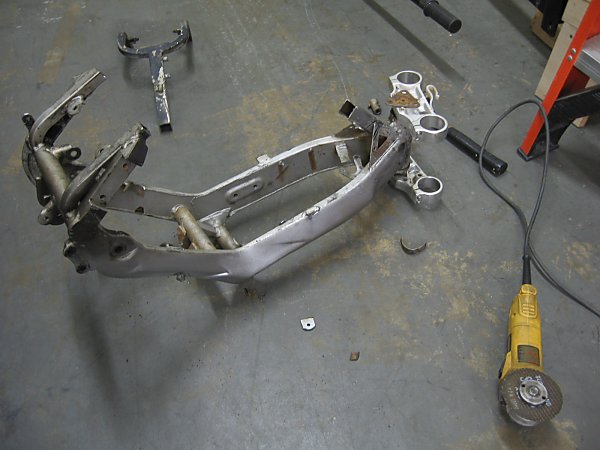
Parts everywhere. The parts on the far right won't be needed (fuel tank, exhaust, muffler, engine brackets).
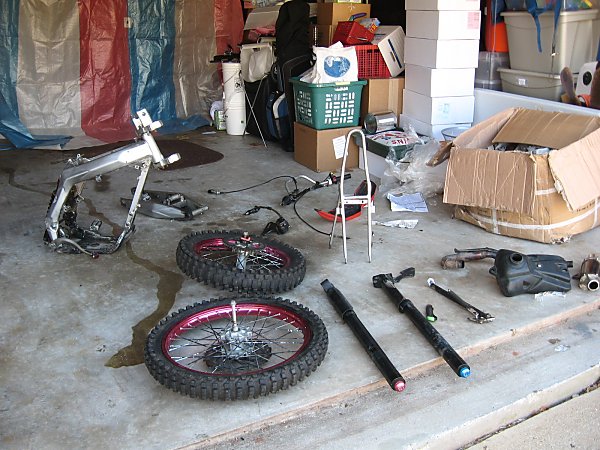
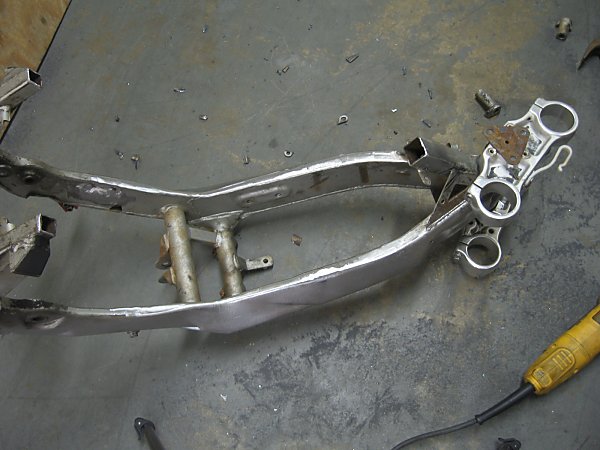
Frame is pretty filthy.
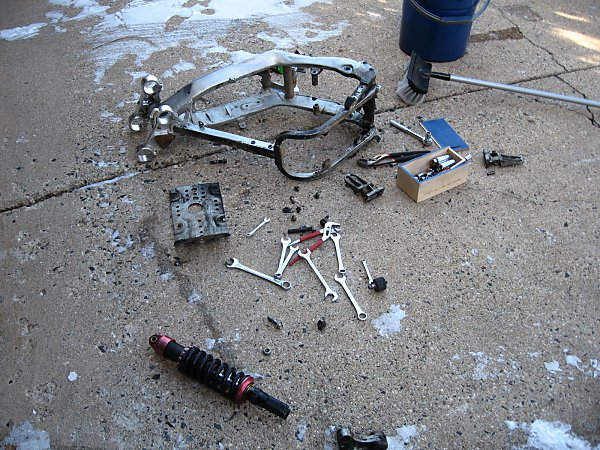
I can only get is so clean with dish soap, water, and a brush.
I'll have to clean it further by sand-blasting it. But for now it's clean enough to start cutting and welding.
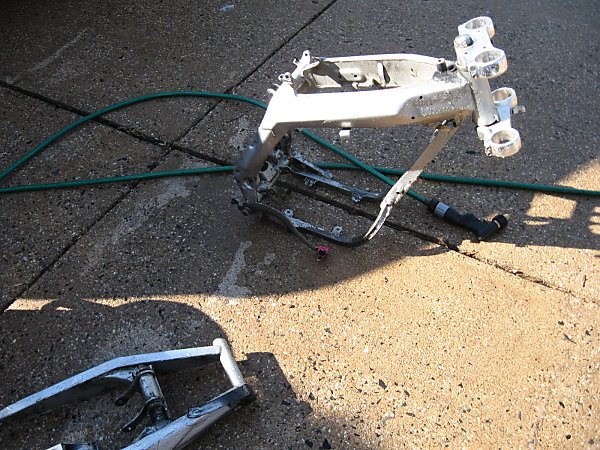
After measuring the frame some more and shopping around for materials I decided to start the CAD work all over again. The first two designs were too cramped or involved fairly expensive materials.
This latest design will be easily made with less than $60 worth of steel (L-channel and 1" square tube) and some sheets of polycarbonate (which I buy as scrap). All while allowing for a wider range of sprocket sizes.
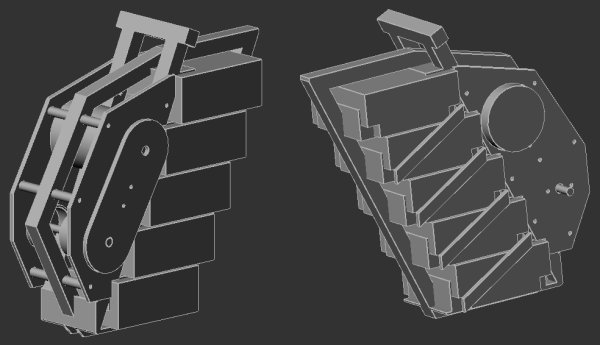
And it will only require me to cut out and replace the small downtube that held the engine and skid plate, rather than having to alter the main fork of the frame.
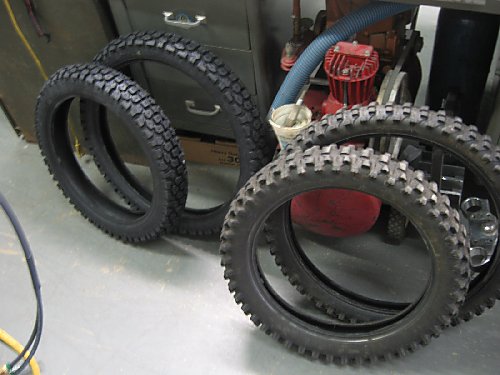
I've found a set of Dual Sport tires to replace the current knobby tires.

Front Rim: 1.4x19
Rear Rim: 1.6x16
Stock Front Tire: 70/100-19
Stock Rear Tire: 90/100-16
Replacement Front Tire: 2.75-19
Replacement Rear Tire: 3.00-16
It looks like my final gear ratio setup is determined. I will have to double check the diameter of the replacement tire before I order any sprockets though.
Max Motor Speed @ 60V: 3750 RPM
Motor to Trans: 1.7:1 (10t to 17t)
Trans to Wheel: 4:1 (12t to 48t)
Max speed: 35.5mph
I also ordered a ton of parts from TNC Scooters, and major components from eBay.
Money spent so far: $507
Wiring plan
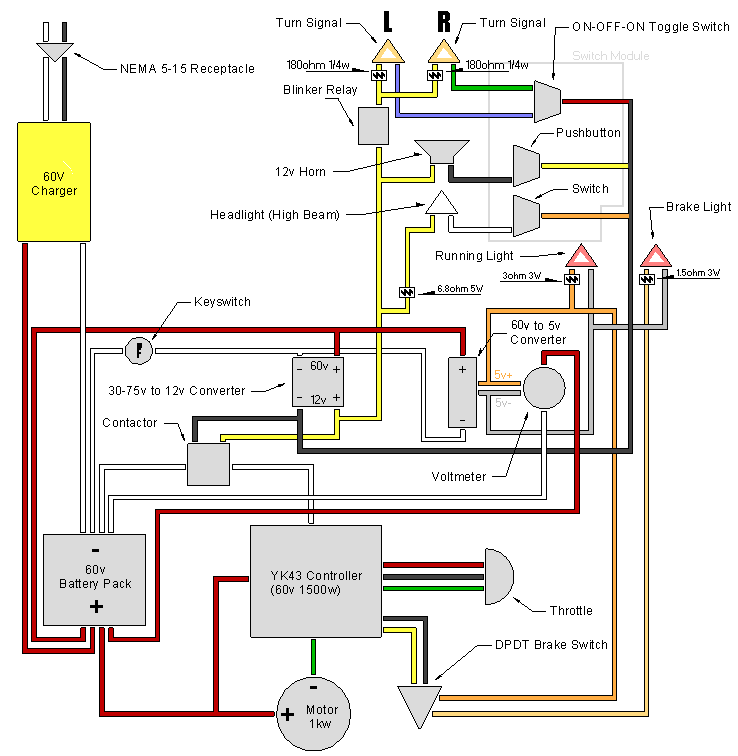
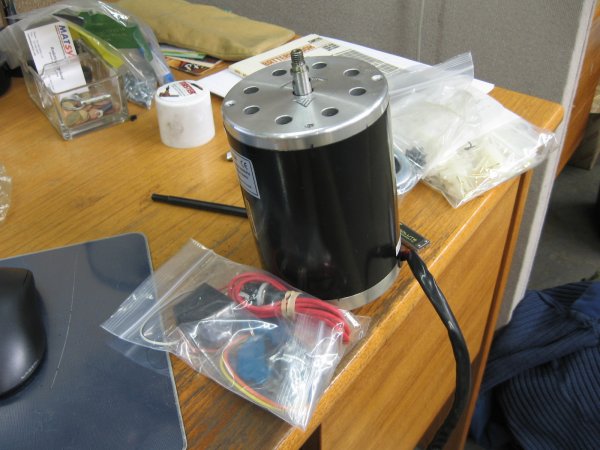
Haven't done much except measure the motor, then research/shop for sprockets and chain.
As I remembered correctly, permanent magnet motors are definitely not free-spinning when unpowered, so I had to do some thinking about how to add an overrunning clutch cheaply. I'm going to be buying a bike hub that I can cut apart to build my own.
February
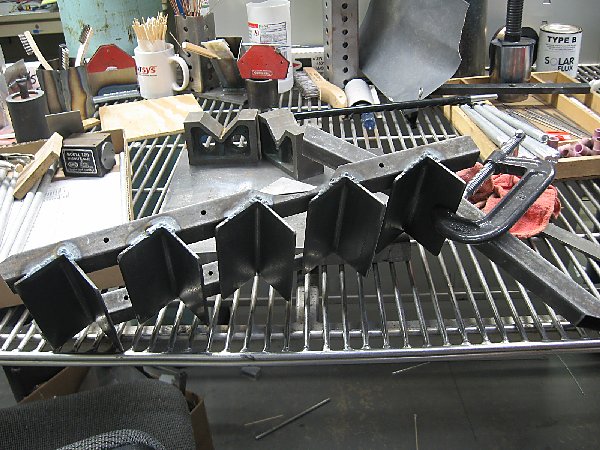
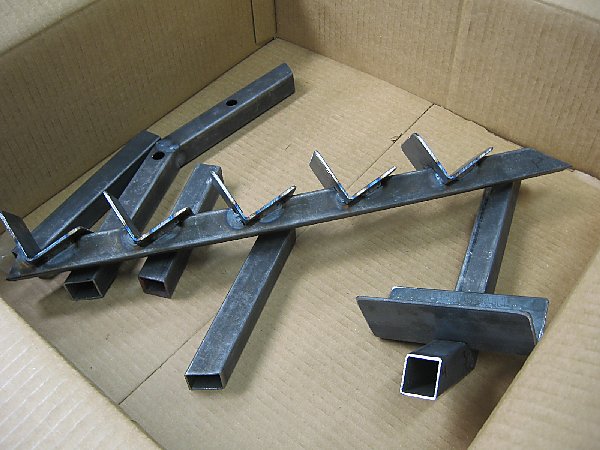
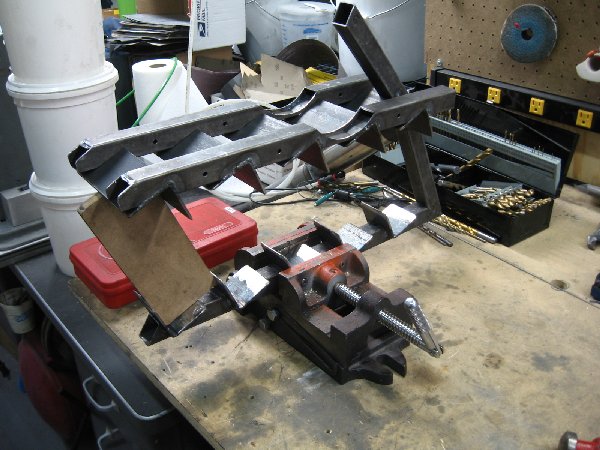
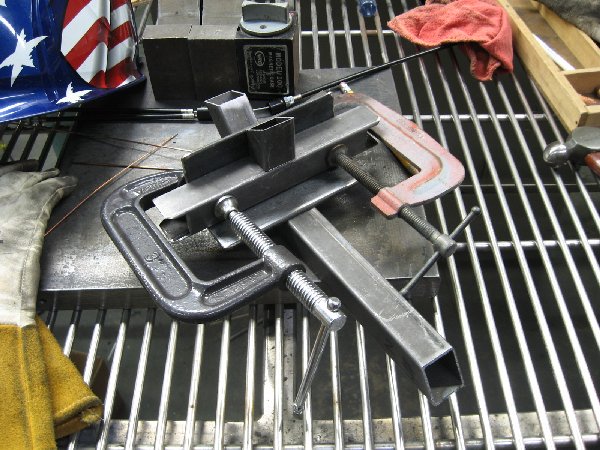
Starting work on the battery rack and frame.
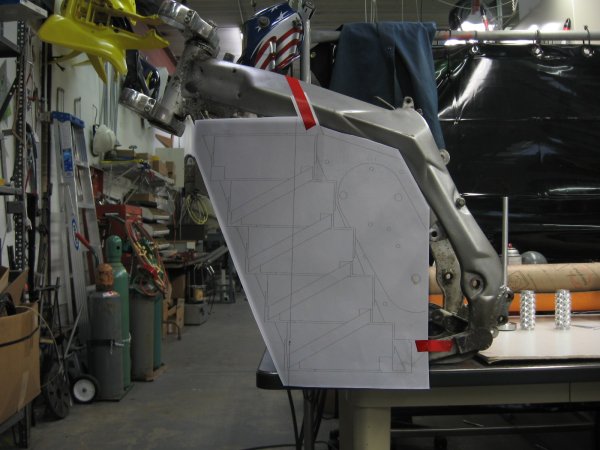

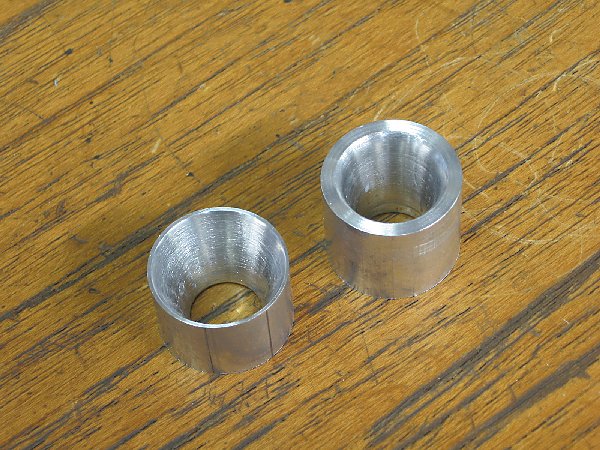
And I lathed some aluminum collimators for the high power headlight LEDs. The wide angle will be angled further downward than the narrow one.
Feb. 24th 2009
I've been really sick for the past week and a half.
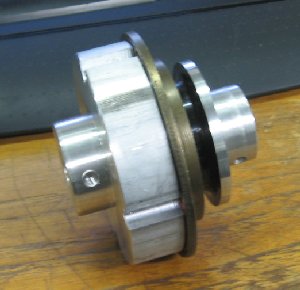
Yesterday I cut the end off of the bike hub, lathed it down, and made a bushing to weld into the end of it. I then made an adapter to bolt onto the freewheel.

Once the hub end is welded to its bushing I can bolt the assembly together and the overrunning clutch will be done.


Wow, excellent. I assume those are SLA batteries?
- David Herron, The Long Tail Pipe, davidherron.com, 7gen.com, What is Reiki
Correct. Same size used in the XB-600.
Test fitting the battery rack parts in the frame.
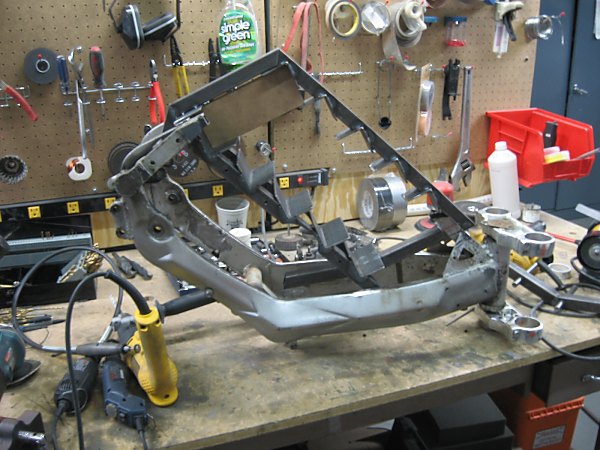
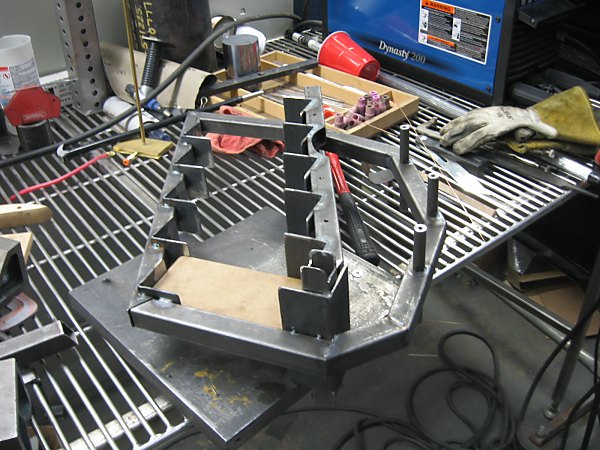
Tacking all of the battery rack parts together at their final spacings.
Next is filling in the welds, sanding the battery slots, and then welding the finished rack into to the frame.
Looks like a great build!
John H. Founder of Current Motor Company - opinions on this site belong to me; not to my employer
Remember: " 'lectric for local. diesel for distance" - JTH, Amp Bros || "No Gas.
The handlebars that came with the frame were trashed. So Kyle gave me these.
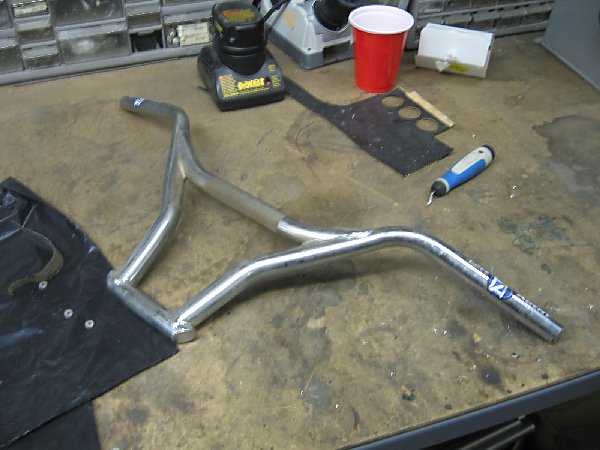
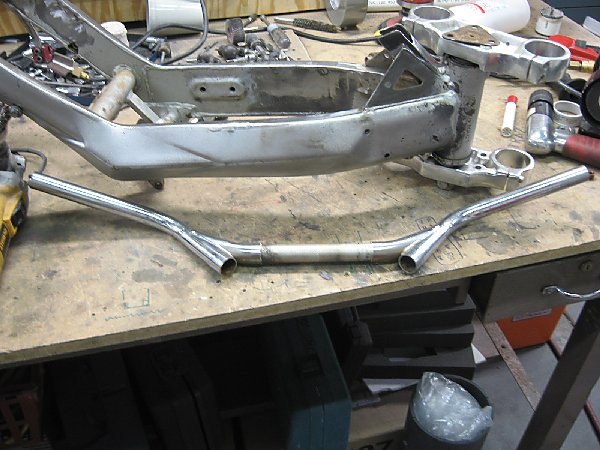
Which I cut up and spiced back together to get the height I want.
I like it. What was your donor? Looks like one of the larger china bikes.
Xmotos XB-31XT

Like it - you are right that a decent motorbike CAN be made sub $1000.
Last year I bought one of these kids dirt bikes for 250pounds (400 dollars) - Its the best bike Ive got
http://cgi.ebay.co.uk/Kids-Midi-Electric-Motocross-Dirt-Bike-Midi-Scrambler_W0QQitemZ160305569172QQcmdZViewItemQQptZUK_Toys_Game...
Its more an adult bike than for kids, its got a 450wat motor and it really is good. Ive never found out who the manufacturer is because theres no makers name on it.
Only problem is its not street legal.
If it had a LIFEPO4 battery upgrade and could be fitted with whatever was necc to make it street legal then I would say it could be turned into a pretty good sub 1000 motorbike.
I've seen those x-motos before. They are fairly popular here [http://www.chinariders.net/] . New swinger bearings and hardware(bolts, etc.) are usually in order before you ride it too hard. I would like 50-100cc performance also. Like to bash around the yard. This spring the finishing touches are going on a Honda XR50 with a 88cc kit and 4 speed. Also upfitting a Razor MX500.
Colin like that ebay bike you've got. Maybe you could repack that battery tray with li-po's.
It looks as if you are going to put the batteries on their side. I wrote to Greensaver about using their batteries on the side and they said they could not recommended this position. They mentioned that during the charging cycle the electrolyte becomes very liquid. Maybe in other gel cells batteries this is less of a problem but check that out before you order batteries.
Eric Fisher
www.SiliconeBatteriesUSA.com
Indeed. I had to re-tap all of the threaded holes on the frame and replace all of the bolts/nuts. The bearings are still good, and I won't be riding this on anything more than pavement and some spots of mud. Off-roading will not be its primary role.
I got such a good deal on the batteries I intend to use that I'm not particularly concerned about not getting complete use out of their full service life. Orientation of SLAs will start to effect them after one year of use. In this size of vehicle it's not likely that you would want to use them much more than 1-1/2 years anyways.
I very recently decided that I would make the battery rack a bolt-in item because by the time the batteries are no longer usable I will have more money I can potentially set aside to step up to a more powerful motor and battery set.
Looks like a fun project. I built my son a 1200 watt 48V Dirt bike as a modified Razor MX500. I don't have a great place to ride one where I live, or I'd just buy the one in the link below. I haven't ridden that bike, but heard it climbs any hill with ease, and its made out of quality parts. Not $1000, but not $7000 either.
http://www.thunderstruck-ev.com/roadrunner.htm
Looks well-built, but is too small and has too low of a range for my needs.
I have decided to go with a 1kw brushless hub motor rather than use the permanent magnet and chain drive. Making this change will reduce the total weight of the finished bike by up to 30 pounds. It will also free up a great deal of space. Space which I could later use to add another set of batteries that would allow me to double my range.
I will have to custom spoke the hub motor into the rear rim and add holes to it's side casing in order to mount a brake rotor.
That said, my set of five 12volt batteries arrived in the mail today.
Work started on the gas tank.

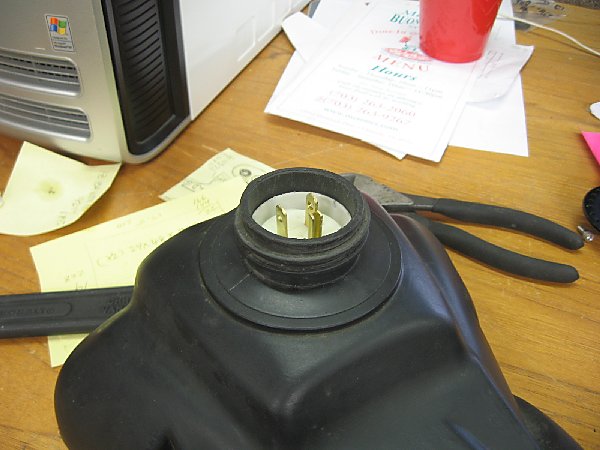
:) :? ) Were did you find that male plug it looks like something that would be usefull for a lot of apps. ? LaTeR
thank GOD I wake up above ground !!!!
McMaster-Carr part# 8036K1
Most industrial or electrical supply companies should have similar male receptacles. I had to cut off some of it to get it wedged into the tank bung.
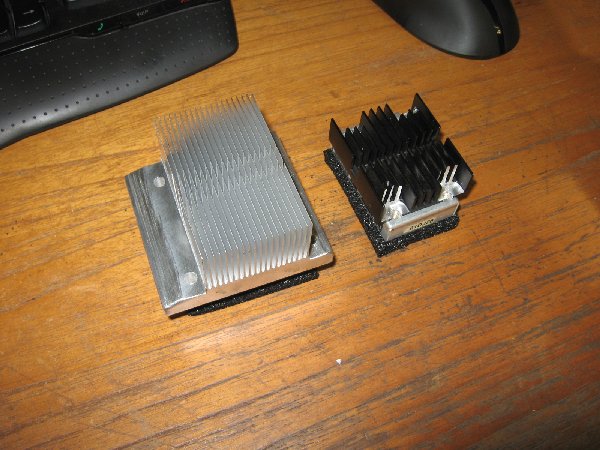
Modified some of my junk heatsinks to be used with the DC-DC converters.
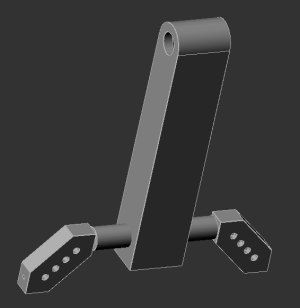
CAD concept for the brake light and turn signals
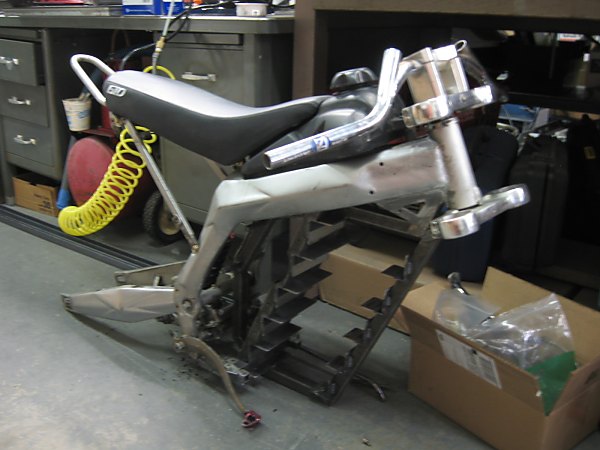
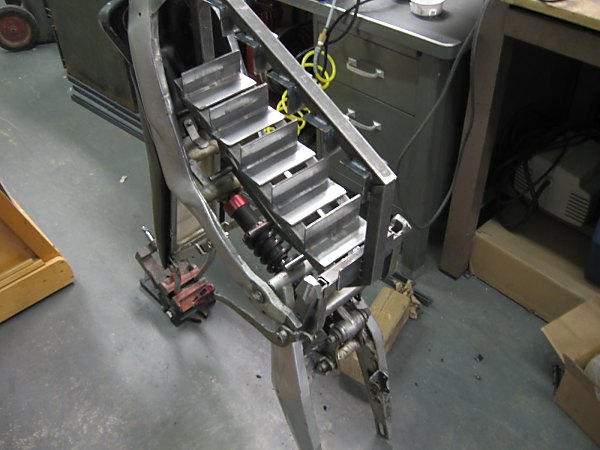
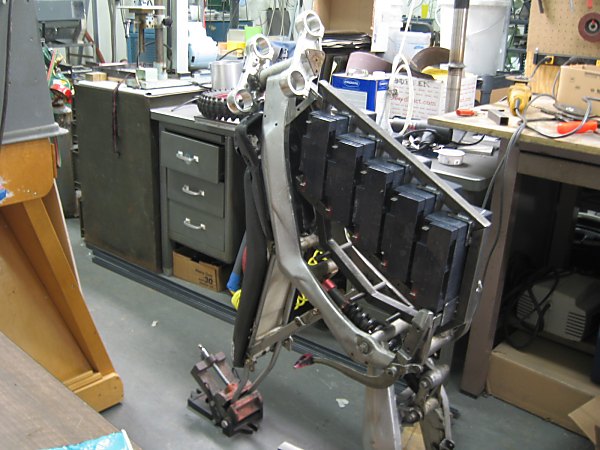
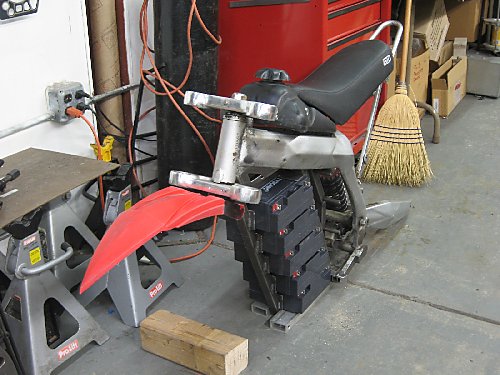
I'm going to start with the steel battery rack (since it's finished) for testing. Later if I want to shed more weight I'll make a plastic one.
Just did some final grinding and sanding to get an ideal fit. Tomorrow I can drill the holes for bolting it to the frame.
Next comes getting the tires off of the rims. I'll have to wait until I can borrow the tools to get them off. Then I will start rebuilding both wheels after painting the rims.
Some good news about switching from the brushed motor to the brushless hub motor. The hub of the rear wheel is pretty trashed. The previous owner had drilled through and used long bolts to hold the chain sprocket.
Since I'm not going to be adding any fairings to this bike, I've repurposed the spots on the tank where they would have attached. The right side will have the keyswitch.
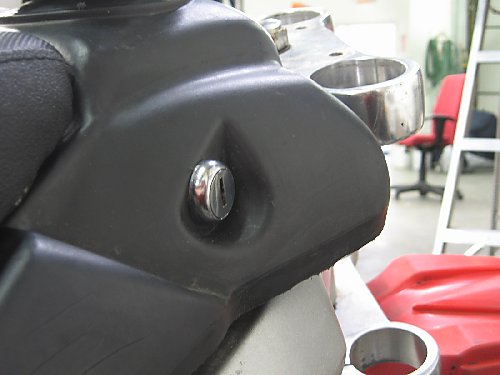
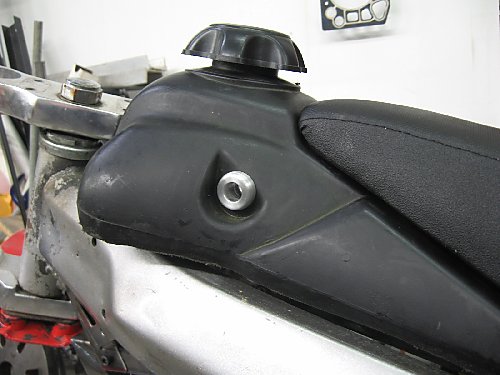
And the left will be a status indicator for the charger (LEDs and lens to be added later). I made it out of aluminum using the lathe.
The battery back is now bolted to the frame. I also have a plan for the headlight/front fender combination.
Nice! Good progress.
yeah! looks very nice indeed!
make sure to keep us informed with lots of pictures!
btw.. these batteries look a lot like UPS-batteries, maybe that's why you got them cheap?
"doing nothin = doing nothing wrong" is invalid when the subject is environment
I'm working on some clip-on handle bars.
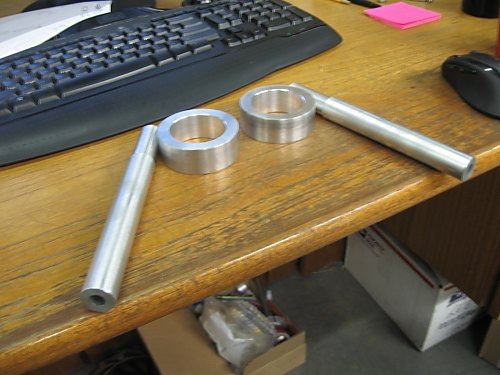
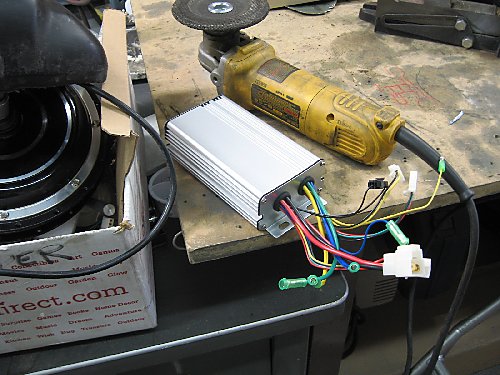
My custom controller arrived in the mail, as well as the tire irons I need to start rebuilding both wheels.
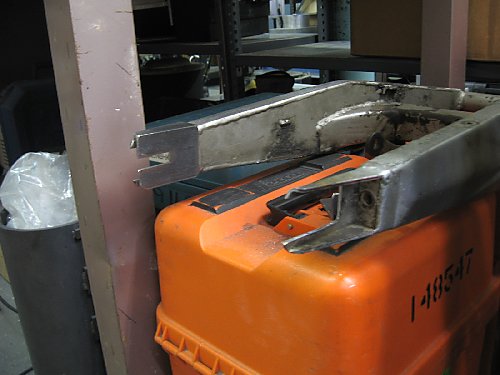
There's also some welding to do as I have started converting the rear suspension from an axle knockout to a bike drop-out.
I ordered them from here.
http://www.electricvehiclesusa.com/product_p/ba-ty-12-20.htm
I bought a set of tire irons and removed the tires from the rims. My first time doing this myself by hand.
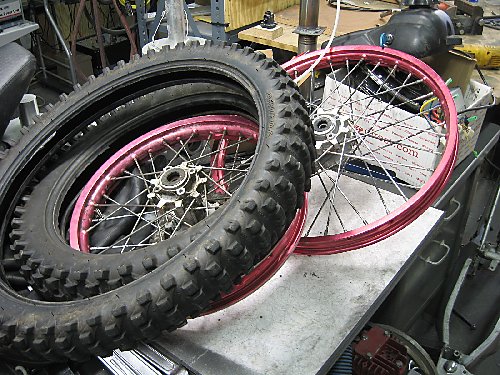
I can now start the process of rebuilding both wheels. I also ordered a front brake caliper and lever so I won't have to bother trying to make an adapter to attach a rear brake rotor on the hub motor.
At some point later this year I will add a hub motor to the front wheel. Primarily to increase braking force of the front wheel while increasing regen capability. Secondarily to increase wet traction.
My custom controller made by Keywin of Shezhen mfg arrived as well. 60-85V 1200w with regen braking (non-throttle type).
I'm also working on converting the rear fork from an axle knockout to a dropout. Installing the rebuilt wheel with the hub motor wouldn't be possible using the normal knockout.
Hey Cap'n, that's all we get for today? let's get a look at the tires you'll be using.
New tires on the left.
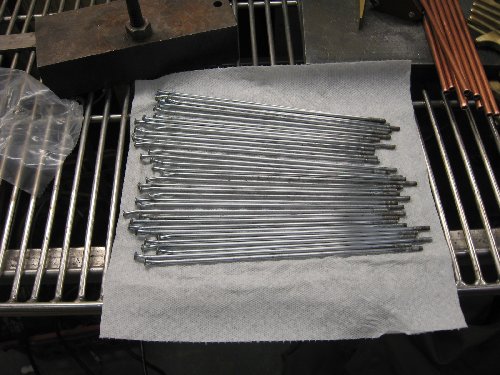

Stripped the paint and dirt off of the front wheel spokes.
Cleaned the rims, which are now ready for paint.
Very perfect ! Expect your complete pictures .
Essconm
With all the annoyances I'm having with the spokes and with having to replace the batteries in my scooter with the ones that were intended for this, I'm now re-evaluating the hub motor decision.
I found a really good deal on some 19" mag wheels through ebay and I will be going back to the My1020Z and the chain drive.
While that setup does involve more weight and doesn't include regenerative braking, it will be a much more durable and easier to service. It will also allow me to get some experience with chain drives, which I will later need should I want to upgrade to a brushless RC motor. Those are tiny, lightweight, and absurdly powerful for their size (up to 7kw).
With that said, anyone want to buy a hub motor from me? :)
please discribe that hub motor, you know ?V ???W no load rpm, "brushed or brushless" how much $$.CC how do we get holt of you ? LaTeR
thank GOD I wake up above ground !!!!
http://visforvoltage.org/forum/6116-goldenmotor-hbs48-48v1kw-rear-wheel-hub-motor-controller
Polycarbonate footpegs (because the stock ones were really rusted)
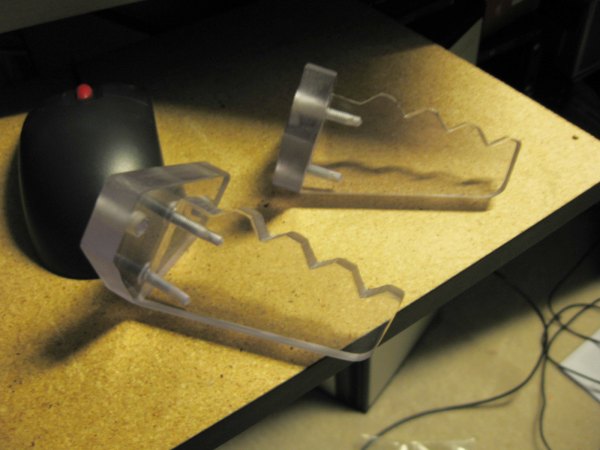
They will eventually be dyed black.
I'm going to have to buy replacement wheels. The stock ones are really abused and unworkable, and the mag rims are not adaptable to this frame at all because of the difference in axle and brake rotor sizes.
My stock front brake arrived in the mail. THANKFULLY it includes a brake light switch on it already, so I don't have to try adding one.
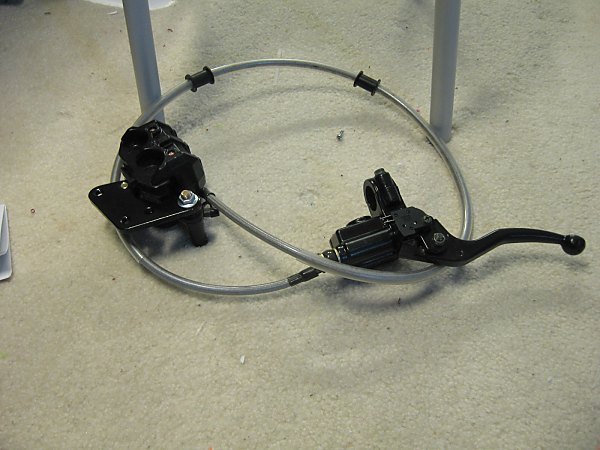
I'm guessing it's there because the same brake parts are used on all of the different models the manufacturer offers.
Pages