Submitted by MB-1-E on Sun, 06/03/2007 - 13:06
Yesterday was my first E-bike ride ...
What a blast!
Submitted by MB-1-E on Thu, 05/31/2007 - 23:28
Under Construction ... more text to be added.
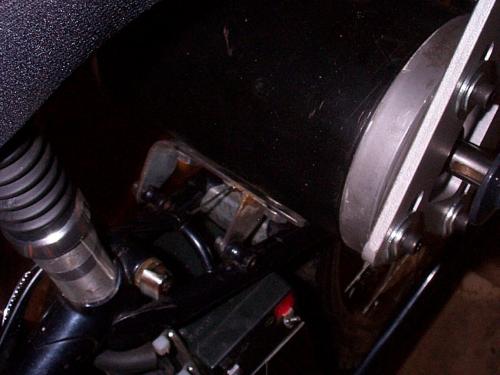
THE NEW STEEL MOTOR MOUNT
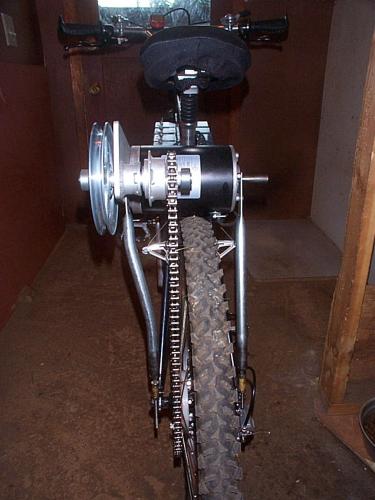
ADJUSTABLE STRUTS
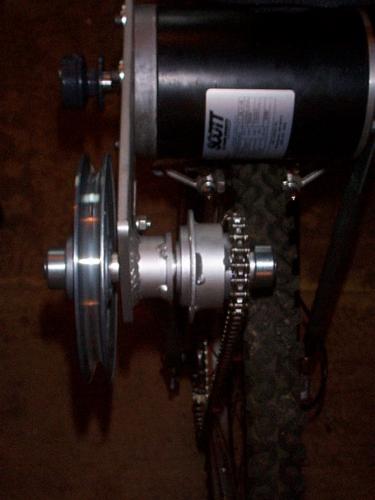
TOP VIEW OF THE DRIVE TRAIN
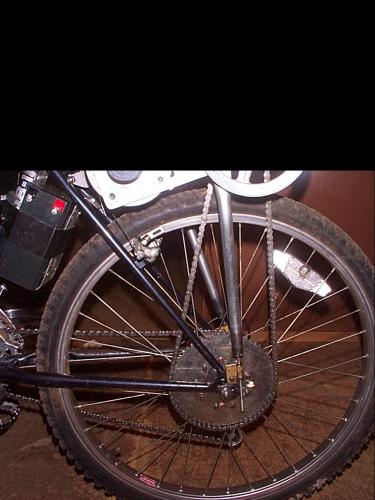
#35 CHAIN AND DRIVEN SPROCKET
Submitted by MB-1-E on Sun, 05/27/2007 - 01:25
Hey All,
I finally got my batteries all wired with the DPDT switch so I can charge at 12V and run at 24V (both nominal voltages, as we all know AGM SLA's are a bit higher than that at full charge).
So I now have two battery banks, each has 4 - 9Ah 12V batteries. Each bank is in parallel and the two banks are wired in series through the DPDT switch.
Thanks to a few electrical wizards here I was able to get this right and it works like a charm.
I'm charging the full set right now using my Iota DLS-15 charger with QD4 three stage charge controller.
Submitted by MB-1-E on Fri, 05/25/2007 - 12:33
Hi Again,
The Jackshaft assembly finally arrived today.
I received the controller a day or two ago.
The chain sprocket has a freewheel for coasting.
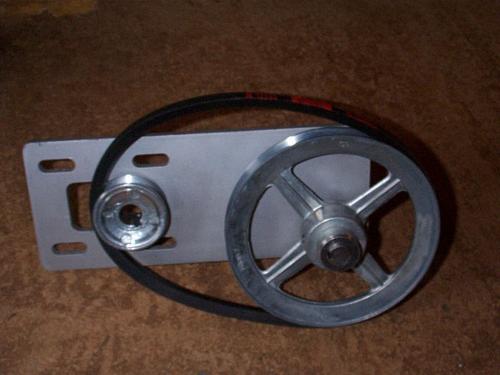
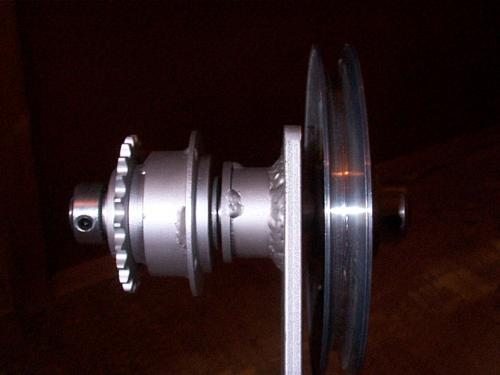
Below is the Navitas 100 Amp Controller
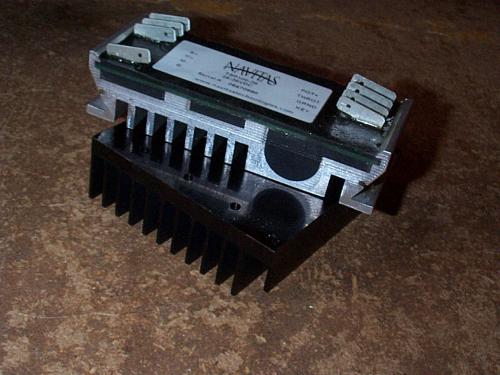
Submitted by MB-1-E on Wed, 05/23/2007 - 16:54
Still waiting on my jackshaft assembly and controller to arrive, they are both shipping out of Canada and it takes a while, I'm finding out.
I did get my new ESGE double kickstand today and got it installed. I like it!
It will really help get the chain drive and sprockets set right since it lifts the rear wheel off the ground.
Seems pretty stable and folds up nicely on the left hand side of the bike.
I ordered a 72 Tooth sprocket for the rear hub so I'd have a variety of sheaves/ sprockets to gear things up/ down as needed.
Submitted by MB-1-E on Sun, 05/20/2007 - 16:15
For those of you who have been following this build, here are some pics of some of what I have accomplished lately.
Submitted by MB-1-E on Fri, 05/18/2007 - 08:16
Hey everybody,
The past few days I've been pretty busy, so didn't have a lot of time to get a much work done on the Mountain Bike.
After working with the acrylic enclosure for a full afternoon, I abandoned the idea. I got all the pieces cut and started gluing it up and then simply changed my mind.
Submitted by MB-1-E on Tue, 05/15/2007 - 11:02
Greetings,
Update: After a few emails and a couple of phone calls, I've been assured that everything is/ will be on it's way here. Glad that's all straight now, my blood pressure is back to normal.
Submitted by MB-1-E on Mon, 05/14/2007 - 20:12
Submitted by MB-1-E on Sun, 05/13/2007 - 14:45
Hey All,
Today I worked on the lower attachment for the chain tensioning rod.
I've abandoned the spring loaded adjustment for a rigid approach, it was fun and IMO looked kind of cool but, as my expert sources have suggested, "It ain't gonna work".
I've decided to put an adjustable rod on both sides of the bike now which will help sturdy things up and provide some additional motor shaft alignment adjustment.
I think some 1/2" conduit will become the support rod, while a 1/4" bolt in-line with the rod will provide adjustment at the lower end.
Pages