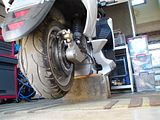
How do you get to the battery?

Mik's picture

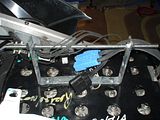
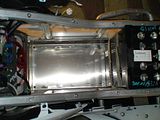
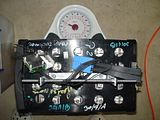
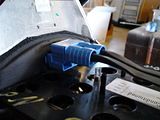
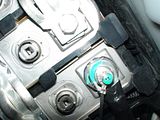
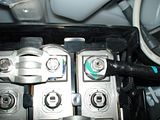
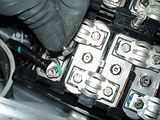
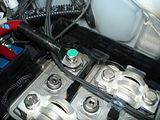
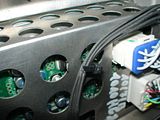
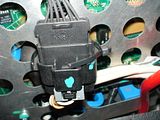
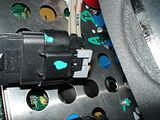
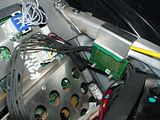
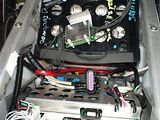
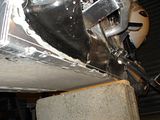
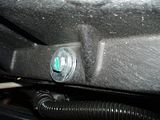
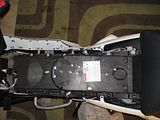
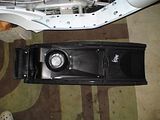
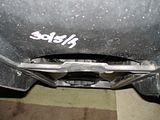
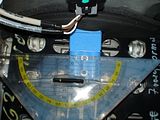
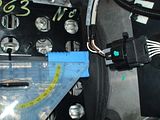
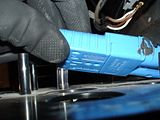
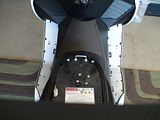
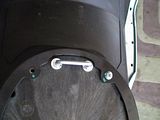
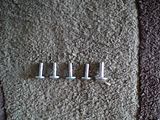
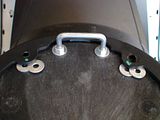
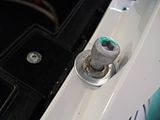
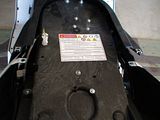
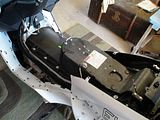
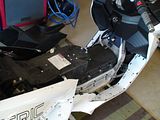
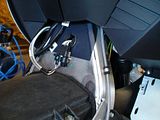
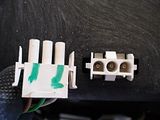
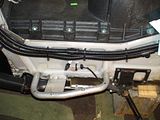
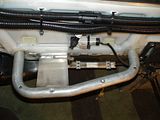
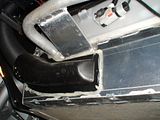
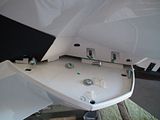
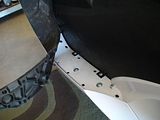
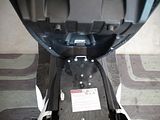
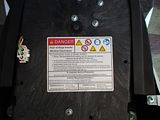
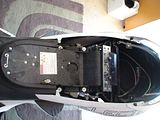
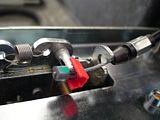
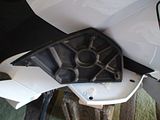
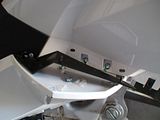
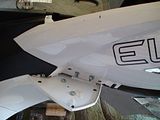
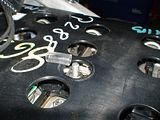
Here are some photos taken during battery removal:

.
.

Lethal voltages! Leave it to someone who knows how to deal with it!

.
.
.
.
.

Watch closely, important details visible in most of the photos.

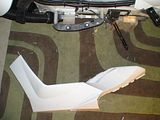
The plastic footrest does not need to come off, it's just shown for interest.

It would be nice if someone could find the time to explain it in words as well!

.
.
.
//i281.photobucket.com/albums/kk217/Mr_Mik/Vectux/Motor%20Controller%20Repair/Getting%20to%20the%20Motor%20Controller/th_DSC03875.jpg)//i281.photobucket.com/albums/kk217/Mr_Mik/Vectux/Motor%20Controller%20Repair/Getting%20to%20the%20Motor%20Controller/th_DSC03882.jpg)//i281.photobucket.com/albums/kk217/Mr_Mik/Vectux/Motor%20Controller%20Repair/Getting%20to%20the%20Motor%20Controller/th_DSC03884.jpg)//i281.photobucket.com/albums/kk217/Mr_Mik/Vectux/Motor%20Controller%20Repair/Getting%20to%20the%20Motor%20Controller/th_DSC03886.jpg)//i281.photobucket.com/albums/kk217/Mr_Mik/Vectux/Motor%20Controller%20Repair/Getting%20to%20the%20Motor%20Controller/th_DSC03840.jpg)//i281.photobucket.com/albums/kk217/Mr_Mik/Vectux/Motor%20Controller%20Repair/Getting%20to%20the%20Motor%20Controller/th_DSC03842.jpg)//i281.photobucket.com/albums/kk217/Mr_Mik/Vectux/Motor%20Controller%20Repair/Getting%20to%20the%20Motor%20Controller/th_DSC03843.jpg)//i281.photobucket.com/albums/kk217/Mr_Mik/Vectux/Motor%20Controller%20Repair/Getting%20to%20the%20Motor%20Controller/th_DSC03851.jpg)//i281.photobucket.com/albums/kk217/Mr_Mik/Vectux/Motor%20Controller%20Repair/Getting%20to%20the%20Motor%20Controller/th_DSC03853.jpg)//i281.photobucket.com/albums/kk217/Mr_Mik/Vectux/Motor%20Controller%20Repair/Getting%20to%20the%20Motor%20Controller/th_DSC03859.jpg)//i281.photobucket.com/albums/kk217/Mr_Mik/Vectux/Motor%20Controller%20Repair/Getting%20to%20the%20Motor%20Controller/th_DSC03861.jpg)//i281.photobucket.com/albums/kk217/Mr_Mik/Vectux/Motor%20Controller%20Repair/Getting%20to%20the%20Motor%20Controller/th_DSC03863.jpg)//i281.photobucket.com/albums/kk217/Mr_Mik/Vectux/Motor%20Controller%20Repair/Getting%20to%20the%20Motor%20Controller/th_DSC03870.jpg)//i281.photobucket.com/albums/kk217/Mr_Mik/Vectux/Motor%20Controller%20Repair/Getting%20to%20the%20Motor%20Controller/th_DSC03872.jpg)//i281.photobucket.com/albums/kk217/Mr_Mik/Vectux/Motor%20Controller%20Repair/Getting%20to%20the%20Motor%20Controller/th_DSC03755.jpg)//i281.photobucket.com/albums/kk217/Mr_Mik/Vectux/Motor%20Controller%20Repair/Getting%20to%20the%20Motor%20Controller/th_DSC03796.jpg)//i281.photobucket.com/albums/kk217/Mr_Mik/Vectux/Motor%20Controller%20Repair/Getting%20to%20the%20Motor%20Controller/th_DSC03801.jpg)//i281.photobucket.com/albums/kk217/Mr_Mik/Vectux/Motor%20Controller%20Repair/Getting%20to%20the%20Motor%20Controller/th_DSC03810.jpg)//i281.photobucket.com/albums/kk217/Mr_Mik/Vectux/Motor%20Controller%20Repair/Getting%20to%20the%20Motor%20Controller/th_DSC03813.jpg)//i281.photobucket.com/albums/kk217/Mr_Mik/Vectux/Motor%20Controller%20Repair/Getting%20to%20the%20Motor%20Controller/th_DSC03832.jpg)//i281.photobucket.com/albums/kk217/Mr_Mik/Vectux/Motor%20Controller%20Repair/Getting%20to%20the%20Motor%20Controller/th_DSC03833.jpg)//i281.photobucket.com/albums/kk217/Mr_Mik/Vectux/Motor%20Controller%20Repair/Getting%20to%20the%20Motor%20Controller/th_DSC03836.jpg)//i281.photobucket.com/albums/kk217/Mr_Mik/Vectux/Motor%20Controller%20Repair/Getting%20to%20the%20Motor%20Controller/th_DSC03663.jpg)//i281.photobucket.com/albums/kk217/Mr_Mik/Vectux/Motor%20Controller%20Repair/Getting%20to%20the%20Motor%20Controller/th_DSC03666.jpg)//i281.photobucket.com/albums/kk217/Mr_Mik/Vectux/Motor%20Controller%20Repair/Getting%20to%20the%20Motor%20Controller/th_DSC03668.jpg)//i281.photobucket.com/albums/kk217/Mr_Mik/Vectux/Motor%20Controller%20Repair/Getting%20to%20the%20Motor%20Controller/th_DSC03674.jpg)//i281.photobucket.com/albums/kk217/Mr_Mik/Vectux/Motor%20Controller%20Repair/Getting%20to%20the%20Motor%20Controller/th_DSC03680.jpg)//i281.photobucket.com/albums/kk217/Mr_Mik/Vectux/Motor%20Controller%20Repair/Getting%20to%20the%20Motor%20Controller/th_DSC03683.jpg)//i281.photobucket.com/albums/kk217/Mr_Mik/Vectux/Motor%20Controller%20Repair/Getting%20to%20the%20Motor%20Controller/th_DSC03685.jpg)//i281.photobucket.com/albums/kk217/Mr_Mik/Vectux/Motor%20Controller%20Repair/Getting%20to%20the%20Motor%20Controller/th_DSC03686.jpg)//i281.photobucket.com/albums/kk217/Mr_Mik/Vectux/Motor%20Controller%20Repair/Getting%20to%20the%20Motor%20Controller/th_DSC03687.jpg)//i281.photobucket.com/albums/kk217/Mr_Mik/Vectux/Motor%20Controller%20Repair/Getting%20to%20the%20Motor%20Controller/th_DSC03699.jpg)//i281.photobucket.com/albums/kk217/Mr_Mik/Vectux/Motor%20Controller%20Repair/Getting%20to%20the%20Motor%20Controller/th_DSC03737.jpg)//i281.photobucket.com/albums/kk217/Mr_Mik/Vectux/Motor%20Controller%20Repair/Getting%20to%20the%20Motor%20Controller/th_DSC03742.jpg)//i281.photobucket.com/albums/kk217/Mr_Mik/Vectux/Motor%20Controller%20Repair/Getting%20to%20the%20Motor%20Controller/th_DSC03749.jpg)//i281.photobucket.com/albums/kk217/Mr_Mik/Vectux/Motor%20Controller%20Repair/Getting%20to%20the%20Motor%20Controller/th_DSC03750.jpg)//i281.photobucket.com/albums/kk217/Mr_Mik/Vectux/Motor%20Controller%20Repair/Getting%20to%20the%20Motor%20Controller/th_DSC03652.jpg)//i281.photobucket.com/albums/kk217/Mr_Mik/Vectux/Motor%20Controller%20Repair/Getting%20to%20the%20Motor%20Controller/th_DSC03660.jpg)//i281.photobucket.com/albums/kk217/Mr_Mik/Vectux/Motor%20Controller%20Repair/Getting%20to%20the%20Motor%20Controller/th_DSC03630.jpg)//i281.photobucket.com/albums/kk217/Mr_Mik/Vectux/Motor%20Controller%20Repair/Getting%20to%20the%20Motor%20Controller/th_DSC03631.jpg)//i281.photobucket.com/albums/kk217/Mr_Mik/Vectux/Motor%20Controller%20Repair/Getting%20to%20the%20Motor%20Controller/th_DSC03633.jpg)//i281.photobucket.com/albums/kk217/Mr_Mik/Vectux/Motor%20Controller%20Repair/Getting%20to%20the%20Motor%20Controller/th_DSC03634.jpg)//i281.photobucket.com/albums/kk217/Mr_Mik/Vectux/Motor%20Controller%20Repair/Getting%20to%20the%20Motor%20Controller/th_DSC03642.jpg)//i281.photobucket.com/albums/kk217/Mr_Mik/Vectux/Motor%20Controller%20Repair/Getting%20to%20the%20Motor%20Controller/th_DSC03643.jpg)//i281.photobucket.com/albums/kk217/Mr_Mik/Vectux/Motor%20Controller%20Repair/Getting%20to%20the%20Motor%20Controller/th_DSC03648.jpg)//i281.photobucket.com/albums/kk217/Mr_Mik/Vectux/Motor%20Controller%20Repair/Getting%20to%20the%20Motor%20Controller/th_DSC03650.jpg)//i281.photobucket.com/albums/kk217/Mr_Mik/Vectux/Motor%20Controller%20Repair/Getting%20to%20the%20Motor%20Controller/th_DSC03651.jpg)//i281.photobucket.com/albums/kk217/Mr_Mik/Vectux/Motor%20Controller%20Repair/Getting%20to%20the%20Motor%20Controller/th_DSC03628.jpg)
.
.
The slide shows are in somewhat more correct order:


.
.
.
Comments

kevin smith's picture

nise very nise pictures
more more more goog quality pictures
bril mik. keep it up ..
RaDy's picture

Thnakyou Mik, again.
For the moment i dont need to acces my Battery but im going to change my front headlamp together with R (Roger). Bit by bit i will start getting confidence in openening up the Vectrix.
Raj

Mik,

Thanks for the excellent photo documentation. Could you make your album public or something, so we could bypass the slideshow?

Thanks,
Ron

Mik's picture

Mik,

Thanks for the excellent photo documentation. Could you make your album public or something, so we could bypass the slideshow?

Thanks,
Ron

Done!

This information may be used entirely at your own risk.

There is always a way if there is no other way!

Thanks, Mik! Say, a question about the insulating gloves: are they absolutely necessary, or were you just being especially cautious? Not that I wouldn't want to be especially cautious myself...

Mik's picture

Thanks, Mik! Say, a question about the insulating gloves: are they absolutely necessary, or were you just being especially cautious? Not that I wouldn't want to be especially cautious myself...

When I am dealing with an unknown electronic device which has the capability of delivering over 200A at over 100V, I am especially cautious!
For example, the rear battery temp sensor board has high voltage connections to the negative end of the battery and to tab 28 and 86. You can zap yourself by just touching that!

This information may be used entirely at your own risk.

There is always a way if there is no other way!

I'll be buying myself a pair of gloves... Thanks.

Use code"Solar22" and enjoy 12% off for all solar Kits.


Who's online

There are currently 0 users online.

Who's new

  • eric01
  • Norberto
  • sarim
  • Edd
  • OlaOst

Support V is for Voltage