How to Replace Cells in Vectrix Battery Modules

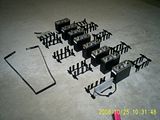
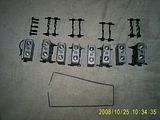
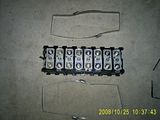
The cells in the Vectrix battery are held together by a metal band in modules of 9 cells or 8 cells.
The metal band provides compression against cell swelling during times of raised intra-cell pressure. The cells can then only bulge at little bit on the narrow sides.
In my experience, the individual cells can not be removed from the modules without taking the metal band off. But apparently some dealers give advice that it can be done. http://visforvoltage.org/forum/6936-replaing-troublesome-oem-batteries#comment-40281
I prefer to undo the metal band to avoid damaging the cells during removal.
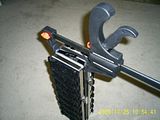
By using six long hose clamps, combining them into three double-clamps, the module can be re-assembled with proper compression.
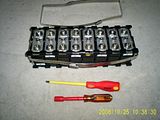
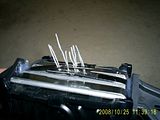
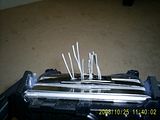
The original metal band can then be tied together with wires. This increases the length of the module by about 5mm, but it can be squeezed into the plastic battery housing. The increased module length is due to the wire thickness, not due to insufficient compression.
It is very tricky work and definitely not recommended to do unless you have to!
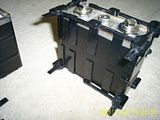
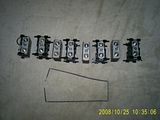
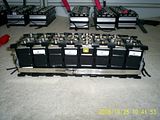
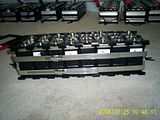
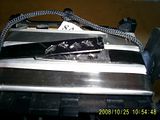
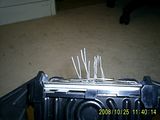
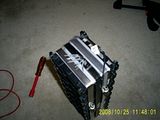
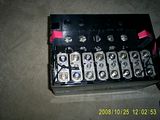
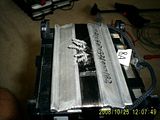
Check out the photos for details, click to enlarge.
Important: Remove the inter-cell connectors first to reduce the risk of shorting the cells with hose clamps or other metal objects. They could get welded to the cells and you'd be watching your cells self destruct. Wear eye protection just in case.
Make three hose clamps out of two clamps each, so that one of the tightening screws is on each side of the module. One very long hose clamp will not allow you to tighten the clamp in a balanced way!
Place all three double-clamps around the module to be re-assembled. One double-clamp is put exactly where the original metal band will later be placed.
Gradually tighten the clamp screws by alternating between left and right sides and upper, lower and middle clamps so that the compression plates are approaching each remaining parallel.
When all three double-clamps are as tight as you can get them, the cells will be close enough to start tying the original metal band around the module once you have removed the double clamp in the middle.
Two double-clamps are sufficient to hold the module together, but it is much easier to tighten it using three double-clamps. Once it is tight, two will do to hold it there whilst the original band is re-applied.
The third double-clamp is not shown in the photos so far!
Who's online
There are currently 0 users online.
Who's new
- eric01
- Norberto
- sarim
- Edd
- OlaOst



Comments
Re: How to Replace Cells in Vectrix Battery Modules
Who knows where to find the thread witht he pictures of how to remove individual cells without beaking the strap?
Or was it just text?
Please advise if you know so it can be added here!
This information may be used entirely at your own risk.
There is always a way if there is no other way!
Re: How to Replace Cells in Vectrix Battery Modules
Hi,
I rememer the post but can´t find it either. just found it?
another posibility is to modify the black spacers that they are slightly formed like a wedge. In this case you can press them into the block again without
opening the metal strap or using a screwdrifer wich might physically damage the cell-case.
Greetings Mike
Re: How to Replace Cells in Vectrix Battery Modules
Aha! Finally understand how to do this now! Thanks for digging it up.
I tried something like this with the cells from AZVectrix, but failed. My mistake was that I tried to put the last cell into the otherwise assembled module.
But one needs to put all the cells into the strap, then put in the spacers between them.
I'll try again next time around!
This information may be used entirely at your own risk.
There is always a way if there is no other way!
Re: How to Replace Cells in Vectrix Battery Modules
There is a video on youtube showing the replacement of one or more cells in a module without removing the banding...
http://www.youtube.com/watch?v=aNkiF1iS6hY
Also, has no-one tried using a plastic strapping system (as used to tie up heavey boxes and packages) to replace the metal strap after replacing cells?
I'm planning to go through my Vectrix's cells soon and will try my strapping system that I used on my van conversion ( http://winlow.co.uk/wychwood.co.uk/EV_Conversion_-_Part_2.html ) and see if it works. The tensioner is only £30 or so on eBay, the clips next to nothing and you can pick up the strapping used at any trading estate.
MW
Regards, Martin Winlow
Isle of Colonsay, Scotland
evalbum.com/2092